TL;DR
Installing Claude Code and configuring it correctly takes less than 10 minutes if you follow the right steps. This guide covers system prerequisites, the recommended native installer (no Node.js required), package manager and npm alternatives, OAuth authentication, and getting started with your first project using essential shortcuts.
Installing Claude Code and configuring it correctly takes less than 10 minutes if you follow the right steps. This guide covers system prerequisites, the recommended native installer (no Node.js required), package manager and npm alternatives, OAuth authentication, and getting started with your first project using essential shortcuts.
Claude Code installation and first launch is the foundational step to integrate an AI development agent directly into your terminal. Claude Code runs on macOS, Linux, and Windows (natively, or via WSL). The recommended native installer ships a self-contained binary that auto-updates and needs no Node.js. Node.js 18 or higher is required only for the alternative npm install method, not for Claude Code in general. WSL2 is optional and only needed for sandboxing or Linux toolchains. Many developers use Claude Code daily in their development workflow.
For an overview of the tool, visit the dedicated Claude Code page that presents the complete ecosystem of this coding agent.
SFEIR Institute trainings
Claude Code Training
1 day · Fundamentals
AI-Augmented Developer
2 days · Intermediate
What are the system prerequisites for installing Claude Code?
Before installing Claude Code, verify that your environment meets a few light conditions. With the recommended native installer, there is no Node.js requirement at all: the binary is self-contained. Node.js 18+ is required only if you choose the alternative npm install method. Git is recommended for repository work (and on native Windows, Git for Windows is recommended so the Bash tool works); Claude Code mandates no specific minimum Git version, and its only documented additional dependency is ripgrep, usually bundled with the install. A compatible terminal (bash, zsh, or PowerShell) completes the list.
You also need access to a Claude account. Claude Code requires a Claude Pro, Max, Team, or Enterprise subscription, a Claude Console account, or a supported cloud provider (Amazon Bedrock, Google Vertex AI, or Microsoft Foundry).
If you plan to use the npm method, run these commands to check your Node.js version:
node --version # v18.0.0 minimum (npm method only)
git --version # optional; no minimum version mandated
npm --version # bundled with Node.js; only needed for npm install
| Component | Requirement | Recommended Version | Required |
|---|---|---|---|
| Native installer | Self-contained binary, auto-updates | Latest | Recommended path |
| Node.js | 18.0.0 (npm method only) | 22.x LTS | Only for npm install method |
| Git | No minimum mandated | Latest stable | Optional (recommended) |
| Claude account | Pro / Max / Team / Enterprise, Console, or cloud provider | n/a | Yes |
| System | macOS / Linux / Windows (native or WSL) | Latest stable | Yes |
If you choose the npm path and hit version issues, install Node.js via nvm to easily manage multiple versions:
curl -o- https://raw.githubusercontent.com/nvm-sh/nvm/v0.40.1/install.sh | bash
nvm install 22
nvm use 22
Claude Code and its dependencies need a modest amount of disk space. The recommended RAM is 4 GB minimum. The step-by-step installation tutorial details each prerequisite with screenshots.
Key takeaway: the recommended native installer needs no Node.js at all; Node.js 18+ becomes a requirement only if you pick the alternative npm method. A Claude account is the one universal prerequisite, and Git is recommended but optional.
How to install Claude Code?
The recommended method is the native installer, which downloads a self-contained binary, auto-updates, and does not depend on Node.js. Open your terminal and run this single command on macOS, Linux, or WSL:
curl -fsSL https://claude.ai/install.sh | bash
On Windows PowerShell, use the equivalent installer:
irm https://claude.ai/install.ps1 | iex
On Windows from the classic Command Prompt (CMD):
curl -fsSL https://claude.ai/install.cmd -o install.cmd && install.cmd && del install.cmd
Package manager alternatives
If you prefer your platform package manager, these are first-class alternatives.
On macOS or Linux with Homebrew:
brew install --cask claude-code
On Windows with WinGet:
winget install Anthropic.ClaudeCode
On Linux, Claude Code is also available through the standard distribution package managers: apt (Debian/Ubuntu), dnf (Fedora/RHEL), and apk (Alpine).
Note that Homebrew and WinGet do not auto-update Claude Code: upgrade with brew upgrade claude-code or winget upgrade Anthropic.ClaudeCode respectively.
npm (alternative, requires Node.js)
If you prefer a Node-based workflow, npm remains an alternative. This is the only method that requires Node.js 18+. Run this command to install Claude Code globally through the Node.js package manager:
npm install -g @anthropic-ai/claude-code
The installation usually completes in under a minute depending on your connection. Here is how to verify that the installation completed correctly:
claude --version
This command displays the installed version number. If you get a command not found error after an npm install, the npm global path is not in your $PATH.
| Installation Method | Command | Auto-update | Use Case | |
|---|---|---|---|---|
| Native install (recommended) | `curl -fsSL https://claude.ai/install.sh \ | bash` | Yes | macOS / Linux / WSL, no Node.js |
| Native install (Windows) | `irm https://claude.ai/install.ps1 \ | iex` | Yes | Windows PowerShell, no Node.js |
| Homebrew | brew install --cask claude-code | No (brew upgrade) | macOS / Linux | |
| WinGet | winget install Anthropic.ClaudeCode | No (winget upgrade) | Windows | |
| npm global | npm install -g @anthropic-ai/claude-code | No | Node-based workflows |
To update a native install, run claude update. For an npm install, reinstall with npm install -g @anthropic-ai/claude-code.
In practice, if you use the npm method and encounter permission errors on macOS or Linux, prefer configuring npm to use a local directory:
mkdir -p ~/.npm-global
npm config set prefix '~/.npm-global'
export PATH="$HOME/.npm-global/bin:$PATH"
For solutions to common installation issues, the Claude Code troubleshooting page covers the most frequent errors. Also check the quickstart for getting started quickly.
Key takeaway: the recommended native installer (curl -fsSL https://claude.ai/install.sh | bash, or irm https://claude.ai/install.ps1 | iex on Windows) installs a self-contained, auto-updating binary with no Node.js. Homebrew, WinGet, and Linux package managers are first-class alternatives, and npm remains a secondary option for Node-based workflows.
How does Claude Code OAuth authentication work?
Claude Code uses an OAuth flow to connect you to your Anthropic account. Simply run claude in your terminal and the process starts automatically:
claude
# → Automatic browser opening for authentication
The OAuth flow is the standard authentication protocol that allows Claude Code to access the Anthropic API without storing your password locally. OAuth is a delegated authorization protocol widely adopted by cloud services.
Here is how the process works in three steps:
- Run
claude: the terminal displays an authentication URL - Your browser opens to the Anthropic login page
- After authorization, credentials are stored locally (in
~/.claude.jsonand the operating system credential store)
Your credentials are stored locally after login and persist across sessions, so you won't need to log in again under normal use. Your user settings live in ~/.claude/settings.json, while the OAuth session and credentials are stored separately by Claude Code in your user directory (for example ~/.claude.json and the operating system credential store). Re-authenticate with /login if needed.
| Authentication Method | Usage | Configuration |
|---|---|---|
| OAuth browser (default) | Individual developer | Automatic |
| Direct API key | CI/CD, scripts | export ANTHROPIC_API_KEY=sk-... |
| Long-lived OAuth token | Headless / CI / server without GUI | claude setup-token |
For environments without a browser (remote servers, Docker containers, CI), generate a long-lived OAuth token with claude setup-token (requires a Claude subscription):
claude setup-token
# → Generates a long-lived OAuth token for headless/CI use
# → Store the token securely as an environment variable in your pipeline
You can learn more about securing your environment by visiting the Permissions and Security page in our silo.
Key takeaway: OAuth authentication is done in one step via the browser, and your credentials are stored locally so they persist across sessions.
How to have Claude Code analyze your codebase?
Once authenticated, Claude Code automatically analyzes your project. Navigate to your project directory and launch Claude:
cd ~/my-project
claude
Claude Code reads the project structure and configuration files at startup. The agent reads configuration files (package.json, tsconfig.json, .gitignore) to understand the technical context.
In practice, Claude Code reads relevant files on demand as it works rather than building a full index upfront. Here is how to ask your first questions to the agent:
claude "Explain the architecture of this project"
claude "What are the main components?"
claude "Find files related to authentication"
The CLAUDE.md memory system allows you to store persistent instructions for your project. Create a CLAUDE.md file at the root of your repository to give permanent context to the agent. For an in-depth explanation, see the guide on the CLAUDE.md memory system.
In practice, early interactions with Claude Code improve in quality when you provide explicit context. The Your First Conversations page offers examples of structured prompts for each type of task.
| Action | Command |
|---|---|
| Project analysis | claude "describe this project" |
| File search | claude "find the DB config file" |
| Code explanation | claude "explain this function" |
| Code generation | claude "add a REST endpoint" |
The concept of agentic coding refers to this ability of AI to navigate, understand, and modify a codebase autonomously.
Key takeaway: run claude at the root of your project so the agent automatically analyzes the structure and dependencies.
Which keyboard shortcuts speed up your navigation in Claude Code?
Claude Code includes a keyboard shortcut system that significantly speeds up your navigation. Memorize these essential combinations to work efficiently.
| Shortcut | Action | Context |
|---|---|---|
Enter | Send message | Main prompt |
Ctrl+D | Quit Claude Code | End of session |
Ctrl+C | Interrupt current operation | Terminal |
Tab | Autocompletion | Path input |
/help | Display help | Claude prompt |
/clear | Clear context | Claude prompt |
/compact | Compress history | Claude prompt |
Slash commands form a built-in navigation system in Claude Code. The /help command is the entry point to discover all available options. Type /compact when your conversation grows long to summarize the history and free up context, and use /context to inspect current context usage.
For a comprehensive list, the Essential Slash Commands page details each command with practical examples. You will also find a printable summary in the dedicated cheatsheet.
In practice, the /clear command starts a new conversation with an empty context, freeing the full context window so the agent is no longer carrying earlier history.
Context management is a fundamental aspect for maintaining productive conversations with Claude Code on complex projects.
Key takeaway: the /compact and /clear shortcuts are the two most useful commands for managing long sessions.
How to validate that your installation works correctly?
After installation, run this complete verification sequence to confirm everything is working:
# Verify installation
claude --version

# Test conversation
claude "say hello"
If authentication failed, rerun claude (or use /login inside a session) to restart the OAuth flow. You can also use the /doctor command inside a Claude Code session to diagnose configuration issues.
The installation checklist provides a list of checkpoints to validate each component.
In case of issues, the installation FAQ answers the most commonly asked questions by developers during their first setup. You will find solutions to the vast majority of encountered scenarios.
| Check | Command | Expected Result |
|---|---|---|
| Installed version | claude --version | Version number displayed |
| API connectivity | claude "test" | A response is returned |
| Diagnostics | /doctor (inside a session) | No errors reported |
Key takeaway: two commands are enough to validate an installation: claude --version and claude "say hello". Use /doctor inside a session for a complete diagnostic.
Why train on Claude Code with SFEIR Institute?
Installing Claude Code is the first step. Mastering agentic coding requires a structured approach that SFEIR Institute offers through three complementary training courses.
The one-day Claude Code training lets you go from installation to productive usage. You will practice on hands-on labs covering all features: codebase navigation, code generation, assisted debugging, and task automation.
To go further, the 2-day AI-Augmented Developer training integrates Claude Code into a complete AI-assisted development workflow, including automated testing and code review. Developers who want to deepen advanced patterns (multi-file agents, complex task orchestration) can take the 1-day AI-Augmented Developer - Advanced training.
In practice, SFEIR training participants report significant productivity gains from the first week of using Claude Code in real-world conditions.
Key takeaway: SFEIR Institute offers three levels of training to master Claude Code, from a 1-day introduction to advanced expertise.
Recent articles about Claude
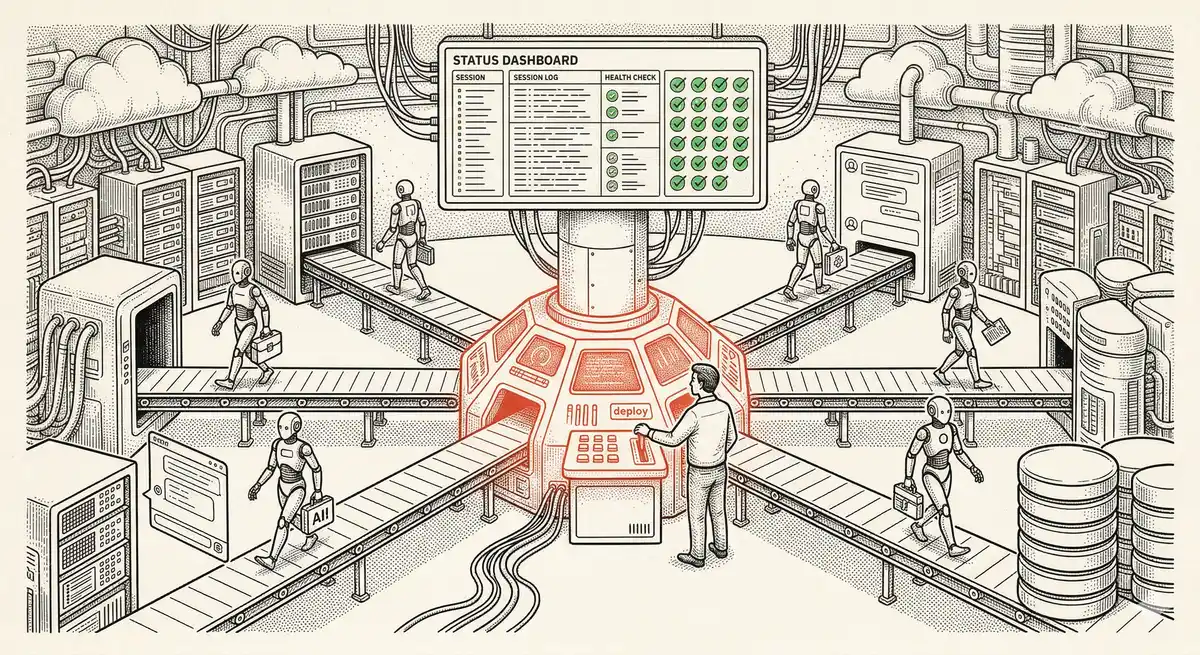
Claude Managed Agents: Anthropic's Platform for Production Agent Deployment
Anthropic launches Managed Agents: a cloud platform for deploying AI agents in production. Secure sandbox, checkpointing, multi-agent, autonomous sessions lasting hours. Notion, Rakuten, Asana and Sentry already use it.

Claude Code Dream & Auto Dream: Automatic Memory Consolidation
After 20 sessions, Auto Memory notes become a mess. Auto Dream solves this by automatically consolidating Claude Code's memory: deduplication, stale entry removal, relative-to-absolute date conversion.
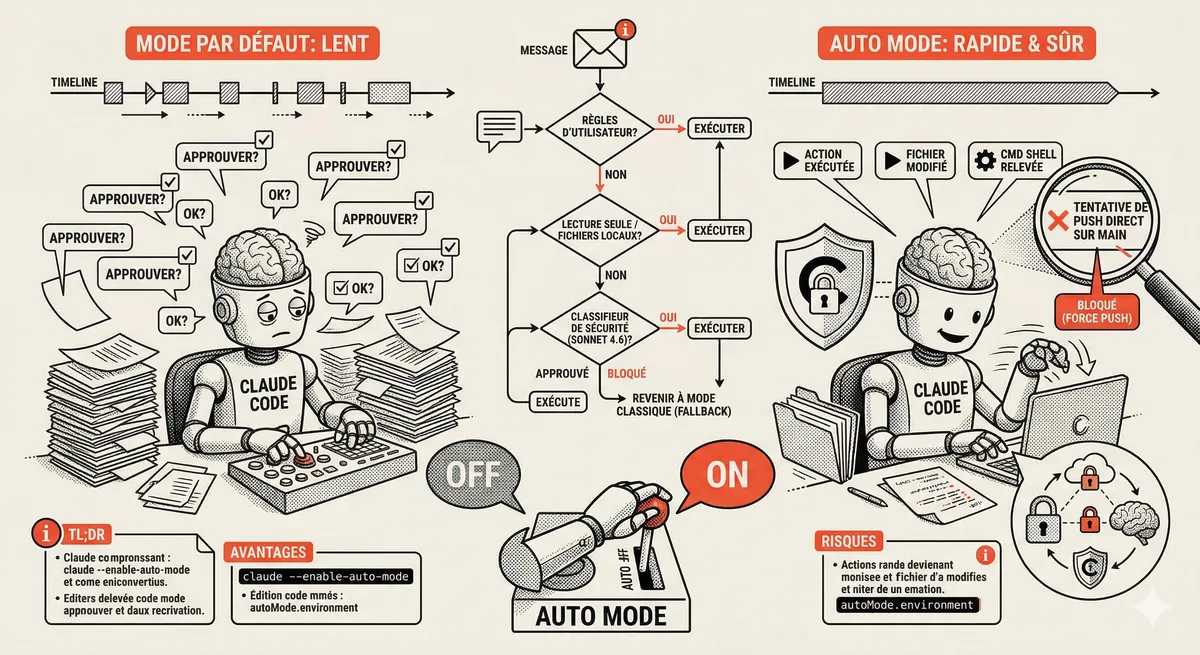
Claude Code Auto Mode: Autonomy Without the Risk
Auto Mode in Claude Code eliminates permission interruptions while keeping a safety net. A classifier analyzes every action before execution and blocks destructive operations. The sweet spot between approving everything and letting everything through.
This topic is covered in Module 2 of our Claude Code training
Claude Code Installation and Configuration
1-day training • 60% hands-on labs • Expert instructors
View full program