TL;DR
This cheatsheet gathers all the commands and shortcuts to install Claude Code, authenticate, and explore a codebase in minutes. Keep this practical reference at hand to configure your environment without friction and launch your first AI-assisted development sessions.
This cheatsheet gathers all the commands and shortcuts to install Claude Code, authenticate, and explore a codebase in minutes. Keep this practical reference at hand to configure your environment without friction and launch your first AI-assisted development sessions.
Claude Code is a command-line development agent created by Anthropic that integrates directly into your terminal to analyze, modify, and generate code. The recommended way to install it is the native installer, a self-contained binary that auto-updates and does not require Node.js. You also need Git and an active account. This installation and first launch cheatsheet serves as a quick reference covering essential commands, from setup to navigating your project.
Claude Code runs on macOS 13+, Linux, and Windows. On Windows you can install it natively on Windows 10 1809+ (PowerShell or CMD) or run it through WSL2. The installation usually takes only a few minutes on a standard connection.
SFEIR Institute trainings
Claude Code Training
1 day · Fundamentals
AI-Augmented Developer
2 days · Intermediate
What are the system prerequisites for installing Claude Code?
Before any installation, verify that your machine has the required tools. The native installer needs no runtime of its own, so Node.js is not a prerequisite for Claude Code. It is required only if you choose the npm install path. Check the complete installation checklist to make sure nothing is missed.
| Prerequisite | Minimum Version | Verification Command | Expected Result |
|---|---|---|---|
| System | macOS 13.0+, Ubuntu 20.04+, Windows 10 1809+ (native) or WSL2 | uname -a | Darwin / Linux |
| Git | Recommended (for git integration; Git for Windows recommended on native Windows so the Bash tool works) | git --version | git version 2.x |
| Node.js | 18+ (required ONLY for the npm install method) | node --version | v18.x.x or newer |
| RAM | 4 GB minimum | free -h (Linux) | >= 4 GB available |
| Disk space | 500 MB free | df -h | >= 500 MB |
You also need an account to authenticate: a Claude Pro, Max, Team, or Enterprise subscription, a Claude Console account, or a supported cloud provider (Amazon Bedrock, Google Vertex AI, or Microsoft Foundry).
To resolve common issues, the installation troubleshooting guide details each error case.
Key takeaway: Git and a supported account are the real prerequisites. Node.js 18+ matters only if you install through npm, not for Claude Code itself.
How to install Claude Code?
The recommended method is the native installer: a self-contained binary that auto-updates and requires no Node.js. Open your terminal and run the command for your platform:
# macOS / Linux / WSL
curl -fsSL https://claude.ai/install.sh | bash
# Windows PowerShell
irm https://claude.ai/install.ps1 | iex
:: Windows CMD
curl -fsSL https://claude.ai/install.cmd -o install.cmd && install.cmd && del install.cmd
Then verify the installation:
claude --version
| Method | Command | Node.js required | Auto-update | ||
|---|---|---|---|---|---|
| Native installer (recommended) | `curl -fsSL https://claude.ai/install.sh \ | bash (or irm https://claude.ai/install.ps1 \ | iex` on Windows) | No | Yes |
| Homebrew (macOS / Linux) | brew install --cask claude-code | No | No (run brew upgrade claude-code) | ||
| WinGet (Windows) | winget install Anthropic.ClaudeCode | No | No (run winget upgrade Anthropic.ClaudeCode) | ||
| Linux package managers | apt, dnf, apk (Debian/Ubuntu, Fedora/RHEL, Alpine) | No | Via the package manager | ||
| npm (alternative) | npm install -g @anthropic-ai/claude-code | Yes (Node.js 18+) | No (run claude update or reinstall) |
Homebrew and WinGet are first-class alternatives if you already manage software through them. On Linux you can also install through your distribution's package manager (apt for Debian/Ubuntu, dnf for Fedora/RHEL, apk for Alpine):
# macOS / Linux with Homebrew
brew install --cask claude-code

# Windows with WinGet
winget install Anthropic.ClaudeCode
If you prefer npm, it remains a secondary alternative and is the only method that requires Node.js 18+:
# Alternative: npm (requires Node.js 18+)
npm install -g @anthropic-ai/claude-code

# Update a native install
claude update
Installation is quick on a standard connection.
For a step-by-step guide with screenshots, check the installation and first launch tutorial which covers each step in detail.
Key takeaway: prefer the native installer (curl -fsSL https://claude.ai/install.sh | bash or irm https://claude.ai/install.ps1 | iex). It auto-updates and needs no Node.js. Homebrew, WinGet, and npm are alternatives.
How to authenticate and configure the OAuth flow?
On first launch, Claude Code triggers an OAuth authentication flow in your browser. Simply run claude in your terminal:
# First launch - opens the browser automatically
claude

# If the browser does not open, copy the displayed URL
# and paste it manually into your browser
Here is how the process works in practice:
- Run
claudein your terminal - The browser opens to the Anthropic login page
- Sign in with your Anthropic account (email or Google SSO)
- Authorize access for Claude Code
- The terminal confirms authentication with a success message
- Your token is stored locally in
~/.claude/
| Auth Command | Description | Usage |
|---|---|---|
claude | Interactive authentication | First launch |
claude auth login | Connect or reconnect (or /login in session) | Expired token |
ANTHROPIC_API_KEY=sk-ant-... claude | Use an API key | CI/CD, scripts |
Your credentials are stored locally after login. In practice, you generally won't need to re-authenticate unless you log out or switch accounts with /login.
For CI/CD environments, use an environment variable rather than the interactive flow:
export ANTHROPIC_API_KEY="sk-ant-..."
claude --print "your prompt"
The tips for your first conversations guide explains how to get the most out of your session once authenticated.
Key takeaway: the OAuth flow is automatic on first claude. Your credentials are stored locally so you rarely need to log in again, and the ANTHROPIC_API_KEY variable lets you bypass interactive authentication.
What are the essential commands for first launch?
Here are the most common commands to know from your very first launch. This table serves as your installation and first launch cheatsheet with essential commands.
| Command | Description | Example |
|---|---|---|
claude | Launch Claude Code in interactive mode | claude |
claude "prompt" | Send a single prompt | claude "explain this file" |
claude --print | Non-interactive mode (stdout output) | claude --print "list the TODOs" |
claude --model | Choose the model | claude --model claude-sonnet-4-6 |
claude --verbose | Enable detailed logs | claude --verbose |
/config | Manage configuration in session | /config (alias /settings) |
claude update | Update a native install | claude update |
claude mcp | Manage MCP servers | claude mcp list |
Navigate to your project directory first, then launch Claude Code:
cd ~/my-project
claude
# Claude automatically analyzes the project structure
Claude Code does not index the entire codebase at startup. It reads files on demand based on your questions, so launch is fast regardless of project size.
The essential slash commands reference goes deeper into each command available in the interactive session. You can also check the slash commands cheatsheet for a quick overview.
Key takeaway: claude alone is enough to get started. Add --print for scripting and --verbose to diagnose a problem.
How to explore and understand your codebase with Claude Code?
Once in an interactive session, Claude Code automatically analyzes your codebase. Ask your questions in natural language to navigate the code.
| Action | Example Prompt | Result |
|---|---|---|
| Overview | "Describe the architecture of this project" | Structure, frameworks, dependencies |
| Find a file | "Where is the Header component defined?" | File path and contents |
| Understand a function | "Explain the processOrder function" | Line-by-line explanation |
| Find a bug | "Why is this test failing?" | Analysis and fix suggestion |
| Analyze dependencies | "List all npm dependencies" | Parsed package.json |
| Summarize changes | "What does the latest commit contain?" | Commented diff |
In practice, Claude Code reads files on demand. It does not index the entire codebase at startup: it explores contextually based on your questions.
Internal slash commands enhance exploration. Use /init to create a CLAUDE.md file that stores your project context:
# In the interactive Claude Code session
> /init
# Generates a CLAUDE.md with the detected architecture
The CLAUDE.md memory system lets you permanently customize Claude Code's behavior on your project. The more precise your CLAUDE.md, the more relevant the responses.
In practice, a well-maintained CLAUDE.md file significantly reduces token consumption per session.
Key takeaway: ask your questions in natural language, and use /init to create a CLAUDE.md file that remembers your project context between sessions.
Which keyboard shortcuts should you master for efficient navigation?
Keyboard shortcuts speed up your workflow in the interactive Claude Code session. Memorize these combinations to boost your productivity.
| Shortcut | Action | Context |
|---|---|---|
Enter | Send message | Single line |
Shift + Enter | New line (native only in supported terminals; run /terminal-setup otherwise) | Multi-line message |
\ + Enter or Ctrl + J | New line (works in any terminal) | Multi-line message |
Ctrl + C | Cancel current generation | During a response |
Ctrl + D | Quit Claude Code | End of session |
Ctrl + L | Redraw screen (refreshes the display without clearing the conversation) | Recover a garbled display |
Tab | Path autocompletion | File reference |
Up / Down | Navigate prompt history | Reuse a prompt |
Ctrl+R | Reverse search through history | While typing |
Escape (2x) | Clear input draft, or open the rewind menu (when prompt is empty) | Anytime |
You can also use slash commands directly in the session to control behavior:
| Slash Command | Action | Description |
|---|---|---|
/help | Display help | Command list |
/clear | Reset context | New conversation |
/compact | Compress context | Free up tokens |
/model | Switch model | Switch from Opus to Sonnet |
/cost | View consumption | Tokens and estimated cost |
/permissions | Manage permissions | File read/write |
In practice, the /compact command summarizes the conversation to free up context, with the actual reduction varying by session, so you can continue a long session without losing coherence.
The permissions and security cheatsheet details how to configure file permissions. Also check the essential slash commands tips for advanced usage.
Key takeaway: Ctrl + C to cancel, Ctrl + D to quit, /compact to free context. These three shortcuts cover the bulk of everyday navigation needs.
Should you configure advanced settings from the first launch?
Some settings are worth adjusting from the very first session to optimize your experience. Configure at minimum the default model and file permissions.
In an interactive session, use slash commands to adjust your settings:
# Change the model in session
claude> /model

# Open configuration (theme, etc.) in session
claude> /config
| Setting | Default Value | Recommendation | How to change |
|---|---|---|---|
| Model | The current default Sonnet model | Sonnet for daily use, Opus for complex tasks | /model in session |
| Theme | System | Per preference | /config in session |
| Language | English | French if desired | Interface adapts to the prompt |
The default model is plan-dependent: Sonnet 4.6 on Pro and Team Standard, Opus 4.8 on Max, Team Premium, Enterprise, and API. The Claude Sonnet 4.6 model offers an optimal performance/cost ratio for the vast majority of daily development tasks, while the Opus model excels at complex refactoring and architecture tasks.
If you want to go deeper into configuration, the commands reference for your first conversations covers the advanced options available in the interactive session.
Key takeaway: configure the default model and read permissions from the first session - you will save time on every subsequent interaction.
How to go further after installation?
Once Claude Code is installed and configured, you can leverage the full potential of the tool. Here are the recommended next steps to progress.
- Create your CLAUDE.md file with
/initto anchor the project context - Explore slash commands with
/helpto discover advanced features - Test multi-file mode by requesting a refactoring across 2-3 files
- Configure MCP servers to connect external tools (databases, APIs)
- Automate with
--printmode in your CI/CD scripts
In practice, developers trained at SFEIR Institute report significant gain from the first week of using Claude Code in their daily workflow.
To master Claude Code in real-world conditions, the Claude Code training from SFEIR Institute offers an intensive one-day session with hands-on labs covering installation, configuration, and advanced use cases. If you want to integrate Claude Code into a complete AI-assisted development workflow, the 2-day AI-Augmented Developer training covers all tools and methodologies.
Experienced developers can directly access the one-day AI-Augmented Developer - Advanced training to deepen prompt engineering techniques and multi-agent orchestration.
Key takeaway: installation is just the beginning. Invest 15 minutes in configuring CLAUDE.md and permissions to turn Claude Code into a true development copilot.
Recent articles about Claude
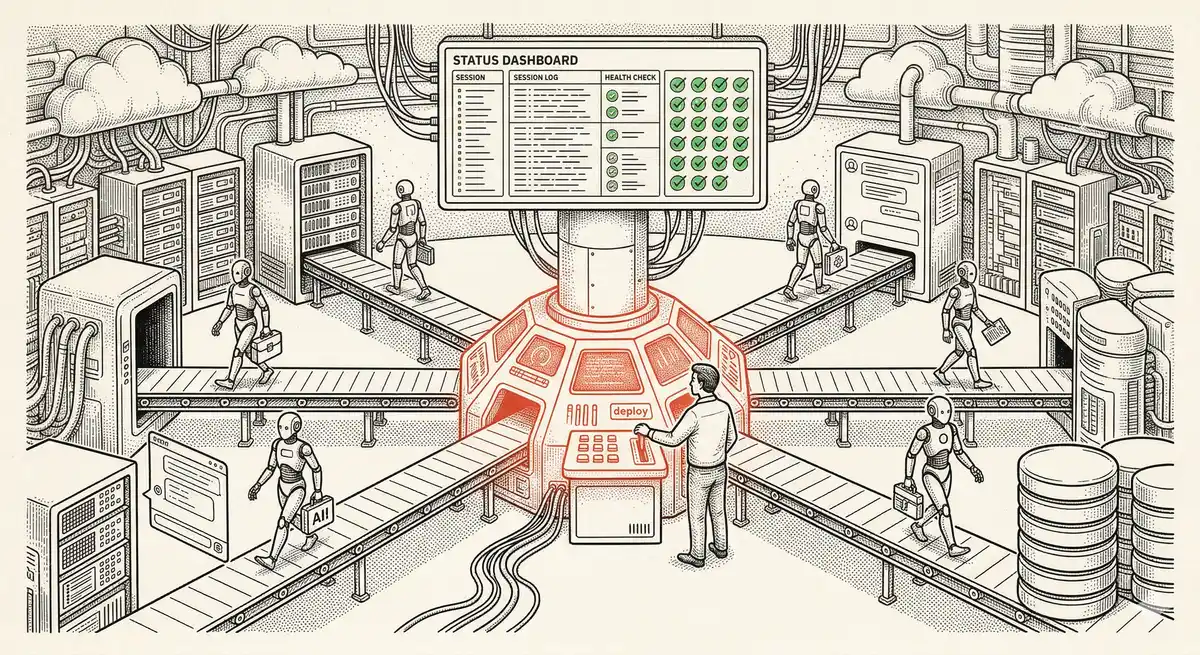
Claude Managed Agents: Anthropic's Platform for Production Agent Deployment
Anthropic launches Managed Agents: a cloud platform for deploying AI agents in production. Secure sandbox, checkpointing, multi-agent, autonomous sessions lasting hours. Notion, Rakuten, Asana and Sentry already use it.

Claude Code Dream & Auto Dream: Automatic Memory Consolidation
After 20 sessions, Auto Memory notes become a mess. Auto Dream solves this by automatically consolidating Claude Code's memory: deduplication, stale entry removal, relative-to-absolute date conversion.
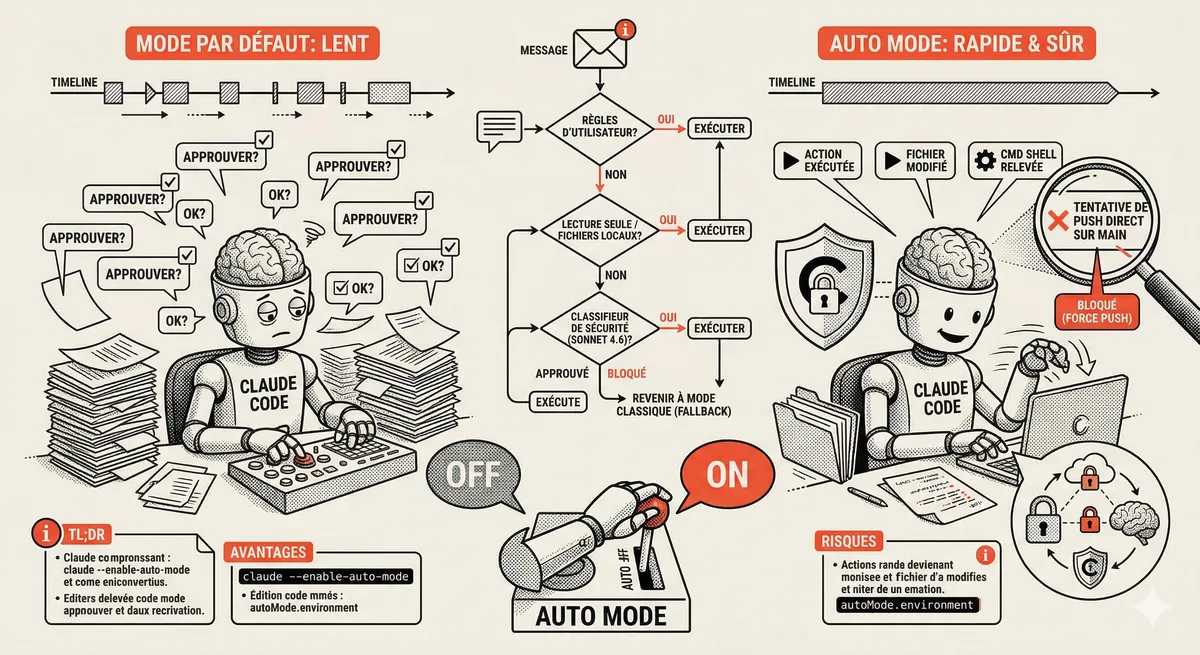
Claude Code Auto Mode: Autonomy Without the Risk
Auto Mode in Claude Code eliminates permission interruptions while keeping a safety net. A classifier analyzes every action before execution and blocks destructive operations. The sweet spot between approving everything and letting everything through.
This topic is covered in Module 2 of our Claude Code training
Claude Code Installation and Configuration
1-day training • 60% hands-on labs • Expert instructors
View full program