TL;DR
The CLAUDE.md file is Claude Code's persistent memory system that configures the agent's behavior between sessions. **Master** the memory hierarchy - from the root file to modular rules - to get consistent responses tailored to your project and aligned with your team's conventions. This guide details how to write, structure, and optimize each memory layer.
The CLAUDE.md file is Claude Code's persistent memory system that configures the agent's behavior between sessions. Master the memory hierarchy (from the root file to modular rules) to get consistent responses tailored to your project and aligned with your team's conventions. This guide details how to write, structure, and optimize each memory layer.
The CLAUDE.md memory system is the central mechanism through which Claude Code retains your preferences, conventions, and instructions from one exchange to another. This text file, automatically loaded into the conversation context (delivered as a user message after the system prompt), transforms a generic assistant into a development partner calibrated to your stack. The CLAUDE.md file is read at the start of every session and its content informs the agent's behavior throughout the session, though it is treated as context rather than strictly enforced configuration. For hard guarantees, pair it with a PreToolUse hook.
SFEIR Institute trainings
Claude Code Training
1 day · Fundamentals
AI-Augmented Developer
2 days · Intermediate
How does the CLAUDE.md memory system work in Claude Code?
The CLAUDE.md file acts as a persistent declarative memory. Unlike a conversation history that disappears, this file stays on your disk and is loaded at each new session. Claude Code reads its content before even your first instruction.
In practice, the mechanism follows three steps:
- Detection: Claude Code scans the current directory and its parents looking for CLAUDE.md files
- Loading: The content is concatenated and loaded into the conversation context (after the system prompt)
- Application: Every response follows the directives found
The CLAUDE.md file supports standard Markdown. You can place rules, code examples, file paths, or style preferences in it. Keep your CLAUDE.md concise. An overly long file wastes context unnecessarily.
For a complete introduction to the tool, check the Claude Code home page which presents all available features.
Key takeaway: CLAUDE.md is a text file automatically read at each session, transforming your instructions into persistent agent behavior.
Why is the CLAUDE.md file crucial for your productivity?
Without CLAUDE.md, you repeat the same instructions at every session. A structured CLAUDE.md can significantly reduce the manual corrections you apply to generated responses, because the agent already knows your conventions.
Here are the typical qualitative gains:
| Metric | Without CLAUDE.md | With optimized CLAUDE.md |
|---|---|---|
| Corrections per session | Frequent | Occasional |
| Initial context time | Spent re-explaining the project | Near zero |
| Convention consistency | Inconsistent | Consistent |
| Reuse across projects | Manual | Automatic |
Open your terminal and check if a CLAUDE.md file already exists at the root of your project:
$ ls -la CLAUDE.md
$ cat CLAUDE.md
In practice, a well-written CLAUDE.md removes most of the reminders you would otherwise give manually, which saves time on every session with the agent. To discover how to leverage this gain from your very first exchanges, explore the guide on your first conversations with Claude Code.
Key takeaway: a structured CLAUDE.md reduces repeated corrections and eliminates re-contextualization at each session.
What is the memory hierarchy in Claude Code?
Claude Code is not limited to a single file. It loads several memory sources, each with its own scope. All instruction files (user CLAUDE.md, project CLAUDE.md, and .claude/rules/*.md) are concatenated into the conversation context (loaded after the system prompt), from broadest to most specific.
The memory sources
| Source | File | Scope | Load order |
|---|---|---|---|
| User | ~/.claude/CLAUDE.md | All your projects | First (broadest) |
| Project (root) | ./CLAUDE.md | Current project | After user |
| Modular rules | .claude/rules/*.md | Current project | Same as project CLAUDE.md |
| Auto Memory | ~/.claude/projects/*/memory/MEMORY.md | Per project | Loaded each session |
A rule file in .claude/rules/ without a paths frontmatter loads at launch with the same priority as .claude/CLAUDE.md. These files are not ranked into an override hierarchy: they are appended to the same context as instructions.
Configure the user level first with your global preferences:
$ mkdir -p ~/.claude
$ touch ~/.claude/CLAUDE.md
The user level contains your personal conventions: preferred language, commit style, favorite tools. The project level contains specific rules: tech stack, folder structure, architectural patterns.
Conflict resolution
Memory files are concatenated as context, not enforced as configuration, and they all load with comparable priority. More-specific instructions that sit closer to your working directory are read last, so a .claude/rules/testing.md file describing your testing approach is the most recent context Claude sees alongside the root CLAUDE.md. Keep in mind that Claude is not guaranteed to follow these instructions: for hard enforcement of a rule, use a PreToolUse hook rather than relying on memory files.
To understand how this hierarchy interacts with overall context management, check out the context management guide which goes deeper into injection mechanisms.
Key takeaway: memory sources load from global (user) to specific (modular rules) and are concatenated into the same context; for hard enforcement, use a PreToolUse hook rather than relying on memory files.
How to write an effective CLAUDE.md in 5 steps?
A poorly structured CLAUDE.md is worse than no CLAUDE.md at all. Follow these five steps to create a file that produces immediate results. For a detailed step-by-step tutorial, refer to the dedicated CLAUDE.md memory system tutorial.
Step 1: Declare the tech stack
List each technology explicitly with its version:
# Tech Stack
- Runtime: Node.js 22.x
- Framework: Next.js 15.1 (App Router)
- Language: TypeScript 5.7 strict
- Database: PostgreSQL 16
- ORM: Prisma 6.2
Step 2: Define code conventions
Specify your naming, formatting, and architecture rules:
# Conventions
- Naming: camelCase for variables, PascalCase for components
- Imports: use @ aliases (e.g., @/lib/utils)
- No `any` in TypeScript - use `unknown` if necessary
- Functions < 30 lines
Step 3: Specify common commands
Document the commands Claude Code should use:
# Commands
- Tests: `pnpm test`
- Lint: `pnpm lint --fix`
- Build: `pnpm build`
- Dev: `pnpm dev --port 3001`
Step 4: Add prohibited patterns
Indicate what Claude Code should never do. This is often the most useful section:
# Prohibitions
- NEVER use `console.log` in production - use the logger
- NEVER modify existing migration files
- NEVER commit without running tests
- NEVER use `any` - prefer `unknown` or a specific type
Step 5: Keep the file concise
In practice, a concise CLAUDE.md covers most needs; aim to keep each file well under ~200 lines. An overly long file wastes context unnecessarily. Move specific rules into modular files (see next section). The memory system optimization guide details compression techniques.
Key takeaway: an effective CLAUDE.md fits in 5 blocks (stack, conventions, commands, prohibitions) and stays concise, ideally under ~200 lines.
How to use modular rules in .claude/rules/?
Modular rules allow you to split your configuration into thematic files. Each .md file placed in .claude/rules/ is loaded automatically, which solves the size limit problem of the main CLAUDE.md.
Recommended structure
.claude/
 rules/
 testing.md # Testing rules
 api-design.md # API conventions
 security.md # Security rules
 git-workflow.md # Git workflow
 code-style.md # Code style
Create your first rule file:
$ mkdir -p .claude/rules
$ touch .claude/rules/testing.md
Conditional rules
You can add a YAML frontmatter header to conditionally activate a rule:
---
paths: ["**/*.test.ts", "**/*.spec.ts"]
---
# Testing Rules
- Use `describe` / `it` (not `test`)
- Mock network calls with MSW
- Aim for 80% minimum coverage
This rule only triggers when Claude Code is working on test files. In practice, conditional rules reduce injected-context noise because only the relevant directives are added to the prompt.
| Rule Type | Loading | Use Case |
|---|---|---|
| Unconditional | Always | Project-wide conventions |
| Conditional (paths) | On file pattern | Rules per file type |
| Root CLAUDE.md | Always | Project overview |
To learn more about the interactions between rules and security permissions, including command execution restrictions, check out the dedicated guide. You can also browse the common memory system errors to avoid classic configuration pitfalls.
Key takeaway: modular rules in .claude/rules/ split configuration by theme and support conditional activation by file pattern.
How does Auto Memory work with MEMORY.md?
Auto Memory is a mechanism through which Claude Code writes its own observations into a MEMORY.md file. This file is located in ~/.claude/projects/ and persists between sessions.
Differences between CLAUDE.md and MEMORY.md
| Characteristic | CLAUDE.md | MEMORY.md |
|---|---|---|
| Author | You (human) | Claude Code (agent) |
| Content | Rules and conventions | Observations and patterns |
| Modification | Manual | Automatic |
| Recommended size | Under 200 lines | First 200 lines / 25KB loaded |
| Scope | Entire project | Per repository (shared across worktrees) |
In practice, Auto Memory records:
- Recurring errors and their solutions
- Architectural patterns detected in your code
- Your implicit preferences (commit style, branch names)
- Important file paths discovered during work
Triggering memory writes
You can explicitly ask Claude Code to memorize information:
$ claude
> Remember that in this project, we always use bun instead of npm
Claude Code will write this preference into MEMORY.md. In the next session, it will automatically use bun without you having to remind it.
To interact effectively with the agent via built-in commands, explore the Claude Code essential slash commands guide. You will find shortcuts for managing memory directly from the terminal.
Best practices for Auto Memory
- Check the MEMORY.md content regularly and remove outdated observations
- Avoid duplicates with CLAUDE.md - if a rule is stable, move it to CLAUDE.md
- Limit MEMORY.md size: beyond approximately 200 lines, content may be truncated
- Organize by theme by creating separate files (
debugging.md,patterns.md)
The memory system tips guide offers 12 advanced techniques to get the most out of Auto Memory.
Key takeaway: MEMORY.md is the self-fed memory of Claude Code. Check it regularly and move stable observations to CLAUDE.md.
What are the common pitfalls to avoid with CLAUDE.md?
Most agent behavior issues come from a handful of recurring memory system configuration errors.
Pitfall 1: File too long
A 500-line CLAUDE.md drowns critical instructions. Keep your CLAUDE.md concise: an overly long file wastes context unnecessarily. Split the content into modular rules.
Pitfall 2: Contradictory instructions
Writing "use arrow functions" in CLAUDE.md and "use function declarations" in .claude/rules/code-style.md creates a conflict. Check consistency across all memory levels:
$ cat CLAUDE.md
$ ls .claude/rules/
$ cat .claude/rules/*.md
Pitfall 3: Missing project context
A CLAUDE.md that contains only personal preferences without describing the project forces Claude Code to infer the stack. In practice, a meaningful share of the first session is then spent on clarification questions that a short project description would have avoided.
To go further in understanding agentic coding and see how memory fits into this approach, read the dedicated article. You will also find detailed solutions in the CLAUDE.md memory system FAQ.
Key takeaway: the three major pitfalls are a file that is too long, contradictions between levels, and a missing project description.
How to integrate CLAUDE.md into your team workflow?
The CLAUDE.md file at the project root is committed to Git. It becomes living documentation of team conventions. Every developer benefits from the same directives as soon as they clone the repository.
Recommended workflow
- Create an initial CLAUDE.md with team conventions
- Commit the file to the shared repository
- Keep personal overrides in
CLAUDE.local.mdand add it to.gitignore - Review the CLAUDE.md during team retrospectives
$ git add CLAUDE.md .claude/rules/
$ git commit -m "feat: add Claude Code memory configuration"
$ echo "CLAUDE.local.md" >> .gitignore
Note: Auto Memory lives in your home directory at ~/.claude/projects/, not inside the repository, so it is already outside version control and needs no .gitignore entry.
Separating shared from personal
| File | Git | Content |
|---|---|---|
CLAUDE.md | Committed | Team conventions |
.claude/rules/*.md | Committed | Project modular rules |
~/.claude/CLAUDE.md | Not committed | Personal preferences |
CLAUDE.local.md | Gitignored | Personal project overrides |
~/.claude/projects/ | Outside the repository | Agent observations |
To learn how to set up your environment before customizing memory, follow the Claude Code installation and first launch guide. The in-depth memory system analysis covers advanced use cases for teams of more than 10 developers.
If you want to master these mechanisms in real-world conditions, the Claude Code training from SFEIR Institute (1 day) includes hands-on labs where you configure a complete CLAUDE.md, test modular rules, and leverage Auto Memory on a concrete project. For those who want to go further, the AI-Augmented Developer training (2 days) covers integrating Claude Code into a complete professional development workflow.
Experienced profiles can turn to the AI-Augmented Developer - Advanced training (1 day) to explore multi-project configuration patterns and advanced context optimization.
Key takeaway: commit CLAUDE.md and .claude/rules/ to Git, but keep personal MEMORY.md files out of the repository.
What concrete results to expect from a well-configured memory system?
A well-optimized memory system produces noticeable results quickly. Teams that structure their CLAUDE.md typically observe these gains:
- Code convention consistency improves across sessions
- The number of manual corrections drops noticeably
- Re-contextualization time falls to near zero, since the agent already knows the project
- New developers get up to speed with Claude Code faster, because conventions are documented in the file
The memory system remains one of the most underutilized productivity levers in Claude Code. Few teams configure a structured CLAUDE.md, even though the return on investment is immediate.
Start your configuration right now by creating a minimal CLAUDE.md file:
$ printf '# My Project\n- Stack: Node.js 22, TypeScript 5.7\n- Tests: pnpm test\n- NEVER use any\n' > CLAUDE.md
$ claude
In 30 seconds, you have an agent calibrated to your project. Gradually enrich the file by adding rules over the course of your sessions.
Key takeaway: a minimal CLAUDE.md takes 30 seconds to create and immediately improves the relevance of every Claude Code response.
Recent articles about Claude
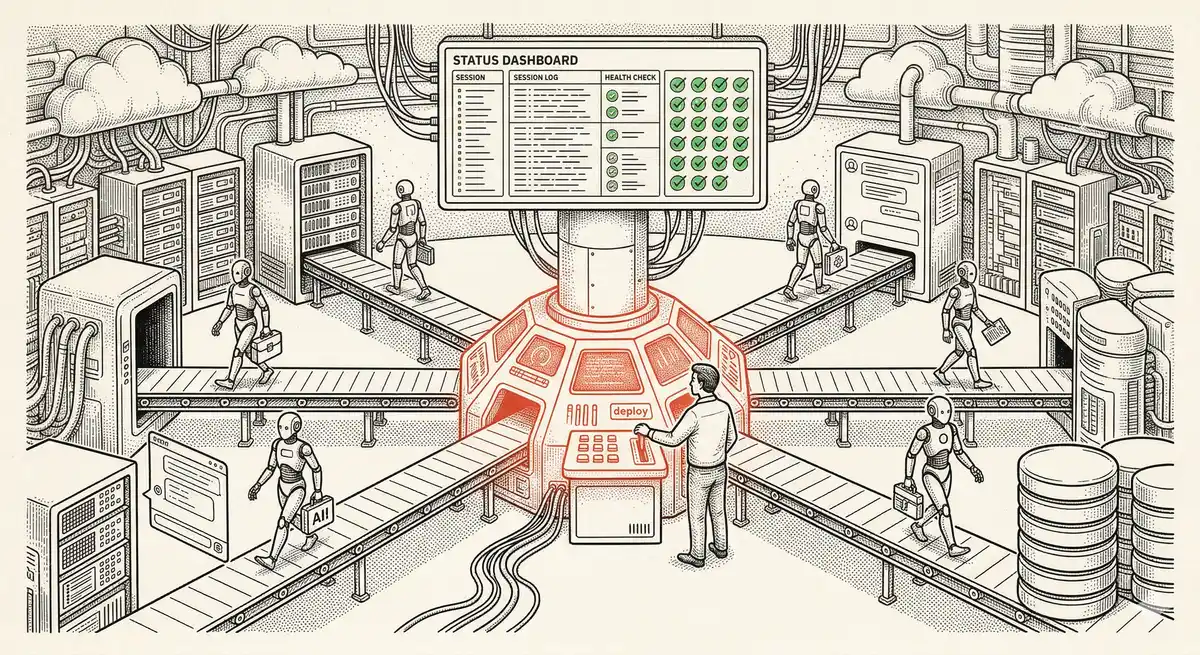
Claude Managed Agents: Anthropic's Platform for Production Agent Deployment
Anthropic launches Managed Agents: a cloud platform for deploying AI agents in production. Secure sandbox, checkpointing, multi-agent, autonomous sessions lasting hours. Notion, Rakuten, Asana and Sentry already use it.

Claude Code Dream & Auto Dream: Automatic Memory Consolidation
After 20 sessions, Auto Memory notes become a mess. Auto Dream solves this by automatically consolidating Claude Code's memory: deduplication, stale entry removal, relative-to-absolute date conversion.
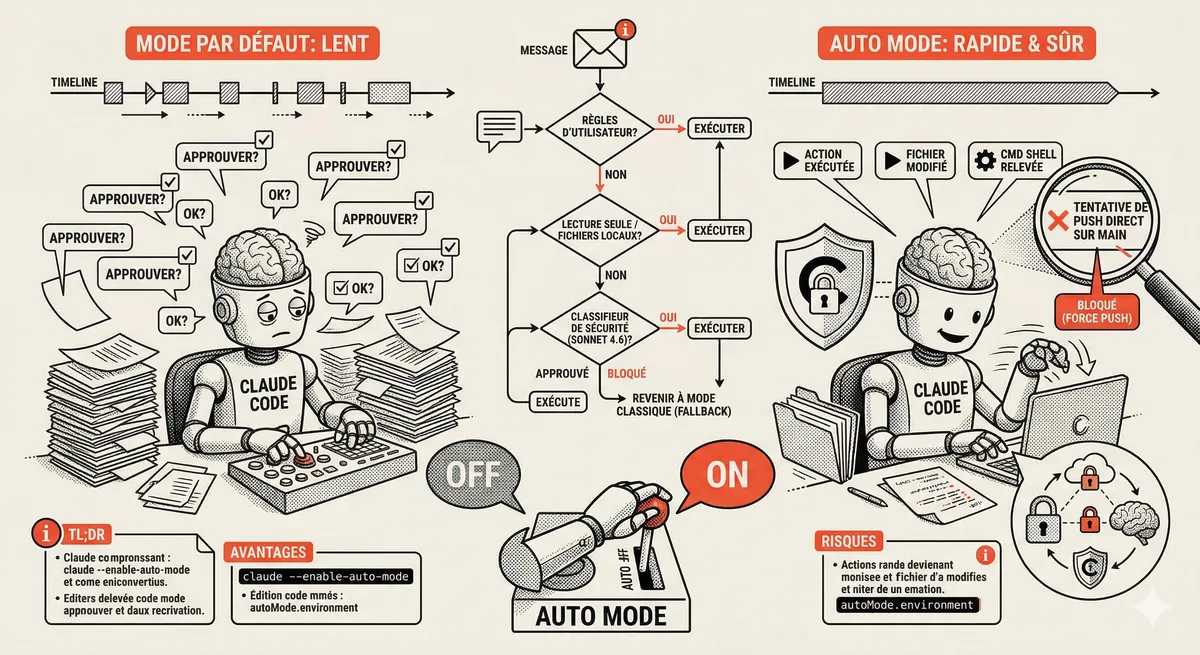
Claude Code Auto Mode: Autonomy Without the Risk
Auto Mode in Claude Code eliminates permission interruptions while keeping a safety net. A classifier analyzes every action before execution and blocks destructive operations. The sweet spot between approving everything and letting everything through.
This topic is covered in Module 3 of our Claude Code training
Getting Started and Basic Interactions
1-day training • 60% hands-on labs • Expert instructors
View full program