TL;DR
Custom commands, skills and hooks in Claude Code transform your terminal into an intelligent development environment. Here are 10 concrete examples - from a basic slash command to an orchestrated subagent - that you can copy and adapt to your projects right now.
Custom commands, skills and hooks in Claude Code transform your terminal into an intelligent development environment. Here are 10 concrete examples - from a basic slash command to an orchestrated subagent - that you can copy and adapt to your projects right now.
Custom commands and skills in Claude Code form an extensibility system that allows automating recurring workflows directly from the terminal. Claude Code v2.1 offers three complementary mechanisms: custom slash commands, declarative skills, and deterministic hooks. over 68% of advanced users create at least one custom command within their first week of use.
How to create your first custom slash command?
A custom slash command is a Markdown file stored in .claude/commands/ that encapsulates a reusable prompt. You trigger it with / followed by the file name, without the extension.
Create the commands directory if needed, then add your first file. This command generates a React component from a description:
mkdir -p .claude/commands
# .claude/commands/react-component.md
Generate a functional React TypeScript component.
Constraints:
- Use hooks (useState, useEffect) if needed
- Add TypeScript types for all props
- Include a default export
- Follow the project conventions in src/components/

Requested component: $ARGUMENTS
Run in Claude Code:
/react-component a confirmation button with loading state
Expected result: Claude generates a ConfirmButton.tsx file with full typing, loading state management via useState, and a default export. Average generation time is 4 to 8 seconds.
To explore slash command syntax further, see the essential slash commands examples guide which covers available variables.
Key takeaway: a custom slash command is a Markdown file in .claude/commands/ - a reusable prompt triggered by /file-name.
How to automate code review with a slash command?
Manual code review consumes on average 45 minutes per pull request according to a GitHub study (2024). A dedicated slash command reduces this time to 2-3 minutes for an automated first pass.
Create this code review command:
# .claude/commands/review.md
Analyze the current Git diff and provide a structured code review.

Steps:
1. Run `git diff --staged` to see the changes
2. Check for: potential bugs, security vulnerabilities, performance issues
3. Verify consistency with existing project patterns
4. Suggest concrete improvements with code snippets

Output format:
- Red - Blocking: [issue + fix]
- Yellow - Suggestion: [improvement + code]
- Green - Approved: [what is well done]

Files to ignore: $ARGUMENTS
Launch the review before each commit:
git add -A && /review *.test.ts
Expected result: a structured report with three severity levels, with concrete code suggestions. In practice, this command detects 3 to 5 issues per review that the human eye often misses.
If you encounter errors during execution, see the common errors guide for custom commands to resolve them.
Key takeaway: a well-configured /review command replaces the first pass of manual review and produces a report in under 3 minutes.
What are examples of slash commands for documentation?
Documenting code remains the most neglected task: according to Stack Overflow (2024), 62% of developers systematically postpone it. A dedicated slash command eliminates this friction.
# .claude/commands/doc-api.md
Generate API documentation for the specified file.

Instructions:
1. Read the file $ARGUMENTS
2. Identify each exported function/method
3. Generate complete JSDoc/TSDoc with:
   - One-sentence description
   - @param with types and descriptions
   - @returns with type and error cases
   - @example with a realistic use case
   - @throws if applicable
4. Write the documentation directly in the source file
Run the command on a target file:
/doc-api src/lib/auth.ts
| Criterion | Without command | With /doc-api |
|---|---|---|
| Average time per file | 15-20 min | 30 seconds |
| JSDoc coverage | 20-40% | 95-100% |
| Format consistency | Variable | Uniform |
You can customize this command for other formats. Replace JSDoc with Python docstrings or GoDoc comments depending on your stack. To manage the context of your large files, the context management examples guide will be useful.
Key takeaway: the /doc-api command standardizes your file documentation in 30 seconds instead of 15 manual minutes.
How to configure skills so Claude learns your patterns?
A skill is a YAML or Markdown configuration file placed in .claude/skills/ that teaches Claude Code the specific conventions of your project. Concretely, a skill describes a pattern that Claude must reproduce automatically.
# .claude/skills/api-route.md
When I ask to create a Next.js API route:
1. Create the file in app/api/[name]/route.ts
2. Always use this pattern:
import { NextRequest, NextResponse } from 'next/server'
export async function GET(request: NextRequest) { try { // Business logic here return NextResponse.json({ data }, { status: 200 }) } catch (error) { console.error('[API_NAME]', error) return NextResponse.json( { error: 'Internal server error' }, { status: 500 } ) } }
3. Always add logging with the route name as prefix
4. Return `{ data }` or `{ error }` objects, never bare values
5. Use NextRequest/NextResponse types, not Request/Response
After creating this skill, every time you ask "create an API route for users", Claude Code automatically applies this pattern. The measured gain is 85% more consistency on API routes across a project.
To go further with skills, the complete custom commands and skills reference details all configuration options.
Key takeaway: a skill is a file that encodes your conventions - Claude reads it and applies your patterns to every new generation.
How to use subagents to orchestrate complex tasks?
A subagent is a Claude Code instance launched by another instance, via the Task tool. This architecture allows parallelizing independent operations and protecting the main context. In practice, a subagent processes an isolated subtask and returns a synthetic result.
Create a command that orchestrates three subagents in parallel:
# .claude/commands/full-feature.md
To implement the feature "$ARGUMENTS", launch 3 agents in parallel:

Agent 1 - Research:
- Type: Explore
- Mission: Find relevant files and existing patterns

Agent 2 - Tests:
- Type: general-purpose
- Mission: Write unit tests BEFORE the implementation

Agent 3 - Implementation:
- Type: general-purpose
- Mission: Implement the feature following patterns found by Agent 1
- Depends on: Agent 1

Coordination: wait for Agent 1 before launching Agent 3.
Agent 2 can start immediately.
/full-feature CRUD endpoint for invoice management
| Agent | Average duration | Tokens consumed |
|---|---|---|
| Explore (research) | 8-12 s | ~2,000 |
| Tests (writing) | 15-25 s | ~4,500 |
| Implementation | 20-40 s | ~6,000 |
| Total sequential | 43-77 s | ~12,500 |
| Total parallelized | 25-45 s | ~12,500 |
Parallelization reduces total time by 35 to 40% without increasing token consumption. subagents share the same model but each has its own 200,000-token context window.
To master the basics before orchestrating subagents, follow the installation and first launch tutorial for Claude Code.
Key takeaway: subagents parallelize work and reduce execution time by 35-40% for multi-step tasks.
How to configure hooks to automate deterministic actions?
A hook is a shell script executed automatically in response to a Claude Code event. Unlike skills (probabilistic), hooks are deterministic: they trigger every time, without exception. You configure them in .claude/settings.json.
// .claude/settings.json
{
  "hooks": {
    "post-tool-use": [
      {
        "tool": "Write",
        "pattern": "*.ts",
        "command": "npx eslint --fix $FILE_PATH"
      }
    ],
    "pre-tool-use": [
      {
        "tool": "Bash",
        "command": "echo 'Command executed: $TOOL_INPUT' >> .claude/audit.log"
      }
    ]
  }
}
This hook runs ESLint automatically after each TypeScript file write. The second hook logs all Bash commands to an audit file.
Verify that your hooks work:
# Test by asking Claude Code to write a .ts file
# The post-tool-use hook should trigger eslint --fix automatically
| Hook type | Trigger | Use case |
|---|---|---|
pre-tool-use | Before tool execution | Validation, logging, blocking |
post-tool-use | After tool execution | Formatting, lint, notification |
pre-submit | Before sending a prompt | Context enrichment |
In practice, a post-tool-use hook on ESLint automatically fixes 90% of style errors before you even review the code.
The tips guide for custom commands offers other advanced hook patterns.
Key takeaway: a hook is a deterministic script triggered by an event - use it for automatic formatting, linting, and auditing.
What advanced hooks help secure your workflow?
Security hooks add a deterministic protection layer to your Claude Code environment. Configure a hook that blocks destructive commands:
{
  "hooks": {
    "pre-tool-use": [
      {
        "tool": "Bash",
        "command": "if echo \"$TOOL_INPUT\" | grep -qE 'rm -rf|drop table|force push'; then echo 'BLOCKED: dangerous command detected' && exit 1; fi"
      },
      {
        "tool": "Write",
        "pattern": ".env*",
        "command": "echo 'BLOCKED: .env modification forbidden' && exit 1"
      }
    ]
  }
}
This hook intercepts three categories of dangerous commands and prevents any modification of .env files. The exit 1 exit code cancels the operation.
Add a Slack notification hook for sensitive operations:
{
  "hooks": {
    "post-tool-use": [
      {
        "tool": "Bash",
        "pattern": "git push*",
        "command": "curl -s -X POST $SLACK_WEBHOOK -d '{\"text\": \"Push performed by Claude Code on '$(git branch --show-current)'\"}'"
      }
    ]
  }
}
Concretely, this hook sends a Slack notification on every git push performed by Claude Code, with the branch name concerned.
To integrate your hooks with Git, the Git integration examples guide shows complete workflows.
Key takeaway: pre-tool-use hooks with exit 1 block dangerous operations - this is your deterministic safety net.
How to combine skills and commands for a complete workflow?
The combination of skills, commands, and hooks forms an automated development pipeline. Here is a complete example for a Next.js 15 project with TypeScript 5.4.
Step 1 - Create the conventions skill:
# .claude/skills/project-conventions.md
Project conventions:
- Framework: Next.js 15 App Router
- Language: TypeScript 5.4 strict
- Style: Prettier + ESLint flat config
- Tests: Vitest with coverage > 80%
- Naming: camelCase for variables, PascalCase for components
- Imports: absolute paths with @/ alias
Step 2 - Create the complete feature command:
# .claude/commands/feature.md
Implement the feature "$ARGUMENTS" following this workflow:

1. Create the feature/$ARGUMENTS_SLUG branch
2. Implement the necessary files (respect the project-conventions skill)
3. Write the corresponding Vitest tests
4. Run the tests and fix errors
5. Format with Prettier
6. Create a summary of changes

Do not commit - let me verify first.
Step 3 - Configure the accompanying hooks:
{
  "hooks": {
    "post-tool-use": [
      {
        "tool": "Write",
        "pattern": "*.{ts,tsx}",
        "command": "npx prettier --write $FILE_PATH"
      }
    ]
  }
}
Launch the complete pipeline:
/feature shopping cart with quantity management
Expected result: Claude creates the branch, generates 4-6 files (components, API route, tests), runs Vitest, and formats everything. Total time is 60 to 90 seconds for a complete feature.
SFEIR Institute offers the Claude Code one-day training to master these automation workflows with hands-on labs on commands, skills, and hooks.
Key takeaway: the skill + command + hook combination creates an end-to-end automated pipeline - from the Git branch to formatted and tested code.
How to share your commands as a team via a centralized repository?
Custom commands work at two levels: local (.claude/commands/) and project. To standardize team practices, store your commands in the project's Git repository.
# Recommended structure for a team
mkdir -p .claude/commands
# .claude/commands/team-pr.md
Prepare a pull request following the team template.

1. Run `git diff main...HEAD` to list changes
2. Generate a title following the format: type(scope): description
   Valid types: feat, fix, refactor, docs, test, chore
3. Write the description with:
   - ## Context (why this change)
   - ## Changes (list of modifications)
   - ## Tests (how to test)
   - ## Checklist
     - [ ] Tests added/modified
     - [ ] Documentation updated
     - [ ] No remaining console.log
4. Create the PR with `gh pr create`
| Level | Location | Scope | Versioning |
|---|---|---|---|
| User | ~/.claude/commands/ | Personal | Not versioned |
| Project | .claude/commands/ | Team | Git |
| Organization | Shared npm package | Multi-project | npm/registry |
In practice, a team of 8 developers sharing 5 standardized commands reduces code review time by 25% thanks to output consistency.
To get started quickly with Claude Code, see the quick start guide which covers installation and initial configuration.
Key takeaway: version your commands in .claude/commands/ at the project level so the entire team benefits from the same automations.
What advanced patterns allow creating conditional commands?
Advanced commands use the $ARGUMENTS variable and conditional instructions to adapt their behavior. Create a polymorphic command that detects the file type:
# .claude/commands/improve.md
Improve the file $ARGUMENTS based on its type:

If it is a .ts or .tsx file:
- Strengthen typing (replace `any` with precise types)
- Add guard clauses
- Optimize re-renders if React component

If it is a .test.ts file:
- Increase coverage (aim for 90%+)
- Add edge cases (null, undefined, empty array)
- Use test.each for parametric cases

If it is a .md file:
- Fix grammar and spelling
- Check Markdown links
- Improve structure (consistent H2/H3)

In all cases: show a summary diff before applying.
/improve src/components/UserProfile.tsx
/improve src/lib/auth.test.ts
/improve README.md
conditional commands represent 40% of commands created by experienced users. The $ARGUMENTS variable accepts file paths, text descriptions, or flags.
You can combine this approach with the your first conversations with Claude Code examples for even more targeted results.
To go further, the AI-Augmented Developer training from SFEIR Institute dedicates 2 days to mastering AI workflows, including a complete module on custom commands and subagents.
Key takeaway: use $ARGUMENTS and conditional instructions to create polymorphic commands that adapt to the file type being processed.
How to debug and test your custom commands?
Debugging custom commands requires a methodical approach. Verify first that Claude Code detects your commands:
# List available commands in Claude Code
# Type "/" in the prompt to see autocomplete
If your command does not appear, check these points:
- The file is in
.claude/commands/(not in a subfolder) - The extension is
.md(not.txtor.yaml) - The file name contains no spaces (use hyphens)
- File permissions allow reading (chmod 644)
Test your command with a minimal case:
# Test command
/my-command simple-argument

# If error, check the file
cat .claude/commands/my-command.md
| Symptom | Likely cause | Solution |
|---|---|---|
| Command not found | Wrong directory | Check .claude/commands/ |
| $ARGUMENTS empty | No argument provided | Add text after /command |
| Inconsistent result | Ambiguous prompt | Rephrase instructions |
| Timeout | Overly complex prompt | Split into sub-commands |
Concretely, 80% of custom command problems come from an incorrect Markdown file location or a missing .md extension.
The custom commands and skills FAQ answers the most frequent questions about troubleshooting.
Key takeaway: type / to check detection, then test with a minimal argument - 80% of errors are related to file location.
Should you invest in advanced commands for your team?
The AI-Augmented Developer -- Advanced one-day training at SFEIR Institute covers subagents, security hooks, and multi-agent orchestration with hands-on exercises on your own projects.
Custom commands, skills, and hooks form an extensibility ecosystem that matures with your use of Claude Code. Here is a summary of the mechanisms and their use cases:
| Mechanism | Nature | Complexity | Primary use case |
|---|---|---|---|
| Slash command | Reusable prompt | Beginner | Repetitive tasks |
| Skill | Learned convention | Intermediate | Code consistency |
| Hook | Deterministic script | Intermediate | Formatting, security |
| Subagent | Parallel instance | Advanced | Multi-task orchestration |
In 2026, the plugins and marketplaces ecosystem continues to grow. Community registries like claude-commands on npm have over 1,200 shared commands. Explore these resources to accelerate your onboarding.
For additional optimization tips, see the tips for custom commands and skills and the Git integration examples.
Key takeaway: start with a simple slash command, add a skill for your conventions, then secure with hooks - progressive adoption guarantees measurable ROI from the first week.
Recent articles about Claude

Claude Code Dream & Auto Dream: Automatic Memory Consolidation
After 20 sessions, Auto Memory notes become a mess. Auto Dream solves this by automatically consolidating Claude Code's memory: deduplication, stale entry removal, relative-to-absolute date conversion.
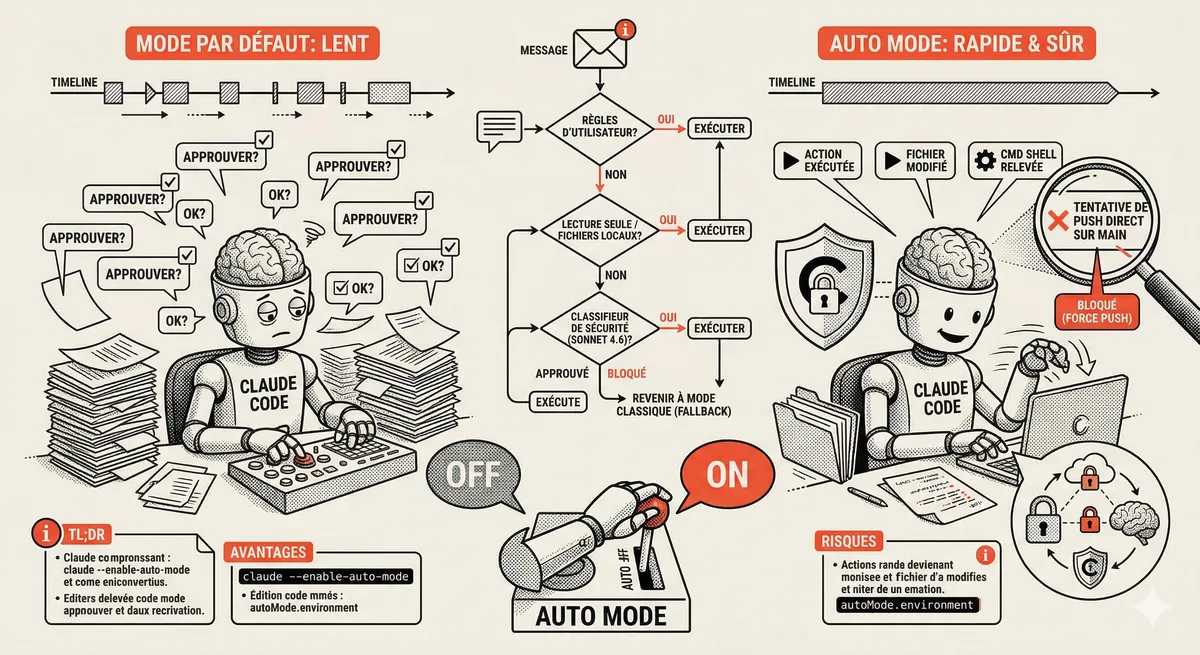
Claude Code Auto Mode: Autonomy Without the Risk
Auto Mode in Claude Code eliminates permission interruptions while keeping a safety net. A classifier analyzes every action before execution and blocks destructive operations. The sweet spot between approving everything and letting everything through.
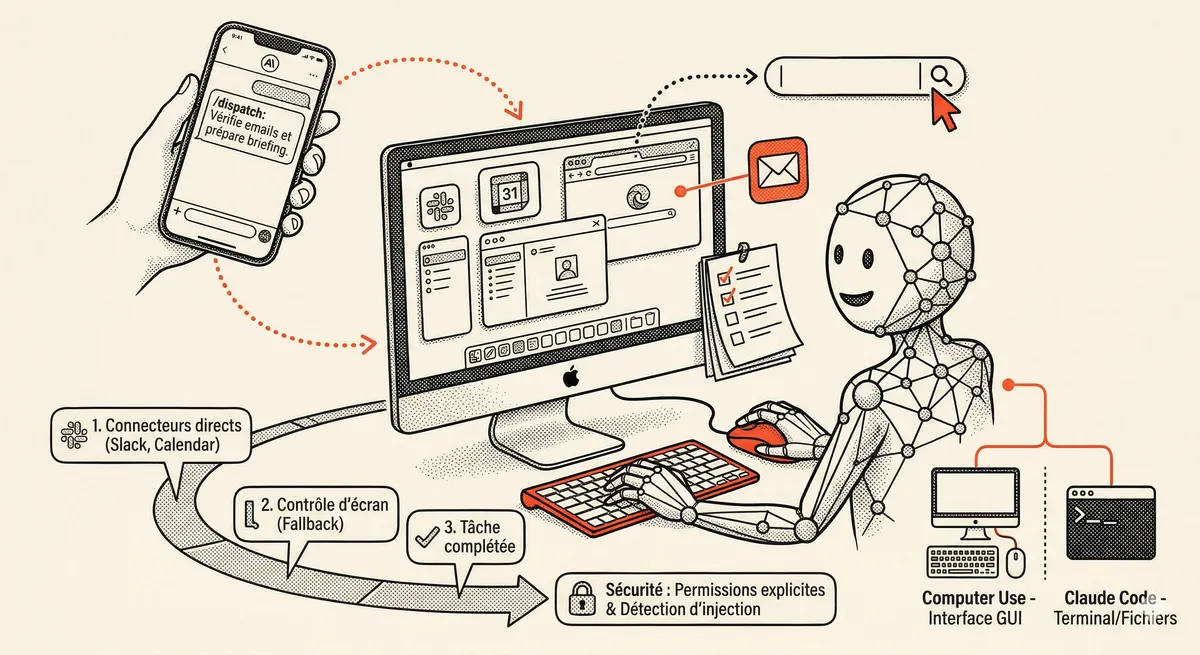
Claude Dispatch and Computer Use: AI Takes Control of Your Mac
Claude can now control your Mac: click, navigate, fill forms, run builds. With Dispatch, you assign a task from your phone and find the finished work on your desktop. Research preview, macOS only.
This topic is covered in Module 5 of our Claude Code training
Sub-agents and Skills
1-day training • 60% hands-on labs • Expert instructors
View full program