TL;DR
Claude Code ships dedicated extensions for VS Code, Cursor and compatible forks, plus a plugin for JetBrains IDEs. You get a graphical interface with side-by-side diffs, @-mentions for files and line ranges, plan review before execution, and session history. The same Claude Code engine runs across every surface, and CLAUDE.md, settings and MCP servers work everywhere.
Claude Code ships dedicated extensions for VS Code, Cursor and compatible forks, plus a plugin for JetBrains IDEs. You get a graphical interface with side-by-side diffs, @-mentions for files and line ranges, plan review before execution, and session history. The same Claude Code engine runs across every surface, and your CLAUDE.md, settings and MCP servers work everywhere.
This page is part of the Surfaces and environments sub-pillar. If you prefer the command-line interface, see the dedicated terminal page.
SFEIR Institute trainings
Claude Code Training
1 day · Fundamentals
AI-Augmented Developer
2 days · Intermediate
Why use Claude Code inside an IDE instead of the terminal?
The VS Code extension provides a native graphical interface for Claude Code, integrated directly into your editor. This is the recommended way to use Claude Code in VS Code.
With the extension, you can review and edit Claude's plans before accepting them, auto-accept edits as they are made, @-mention files with specific line ranges from your selection, access conversation history, and open multiple conversations in separate tabs or windows.
The extension also includes the CLI, which you can access from VS Code's integrated terminal for advanced features. Some commands remain CLI-only.
Key takeaway: the IDE adds visual diff review and multi-session management while keeping the CLI available from the integrated terminal.
How do you install the extension in VS Code or Cursor?
First check the prerequisites: VS Code 1.98.0 or higher, and an Anthropic account (you sign in when you first open the extension).
The quickest way is to open the Extensions view, then search for and install the extension.
# VS Code
Cmd+Shift+X (Mac) / Ctrl+Shift+X (Windows/Linux)
# Search for "Claude Code" then click Install
The extension also installs in Cursor and in other VS Code forks like Devin Desktop or Kiro. Search for "Claude Code" in the editor's Extensions view, or install from the Open VSX registry. If your editor cannot install the extension, run claude in its integrated terminal: the CLI works in any terminal.
If the extension does not appear after installation, restart VS Code or run "Developer: Reload Window" from the Command Palette.
Key takeaway: install from the Extensions view or via Open VSX, then sign in to your Anthropic account on first launch.
How do you open the Claude Code panel and send a first prompt?
Throughout VS Code, the Spark icon indicates Claude Code. The quickest way to open the panel is to click the Spark icon in the Editor Toolbar (top-right corner), which appears when a file is open.
You also have other entry points:
- Activity Bar: click the Spark icon in the left sidebar to open the sessions list.
- Command Palette:
Cmd+Shift+P(Mac) orCtrl+Shift+P(Windows/Linux), type "Claude Code" and select an option like "Open in New Tab". - Status Bar: click ✱ Claude Code in the bottom-right corner. This works even when no file is open.
On first open, sign in: a sign-in screen appears, click Sign in and complete authorization in your browser. If you have ANTHROPIC_API_KEY set in your shell but still see the sign-in prompt, launch VS Code from a terminal with code . so it inherits your environment variables.
Then ask Claude to explain how something works, debug an issue, or make changes. Claude automatically sees text you have selected in the editor.
Key takeaway: open the panel via the Spark icon, sign in through the browser, then write your request in natural language.
How do @-mentions and code selection work?
@-mentions give Claude context about specific files or folders. Type @ followed by a name: Claude reads the content and can answer questions about it or change it. Fuzzy matching accepts partial names.
> Explain the logic in @auth
> What's in @src/components/   (include a trailing slash for folders)
When you select text in the editor, Claude sees your highlighted code automatically, and the prompt box footer shows how many lines are selected. To insert an @-mention with the file path and line numbers (for example @app.ts#5-10), use the shortcut:
Option+K (Mac) / Alt+K (Windows/Linux)
You can also hold Shift while dragging files into the prompt box to add them as attachments. To exclude a sensitive file such as .env, add a Read deny rule in your permissions: the selection and the open-file notice then no longer reach Claude.
Key takeaway: @ mentions files and folders, and Option+K / Alt+K inserts a reference with the exact lines from your selection.
How do you review a plan before Claude executes?
The prompt box supports several permission modes. Click the mode indicator at the bottom of the prompt box to switch modes:
- Normal mode: Claude asks permission before each action.
- Plan mode: Claude describes what it will do and waits for approval before making changes. VS Code automatically opens the plan as a full markdown document where you can add inline comments to give feedback before Claude begins.
- Auto-accept mode: Claude makes edits without asking.
You set the default in VS Code settings under claudeCode.initialPermissionMode (values default, plan, acceptEdits or bypassPermissions).
Key takeaway: plan mode opens an editable document where you comment on Claude's strategy before it touches any code.
How do you review the diffs Claude proposes?
When Claude wants to edit a file, it shows a side-by-side comparison of the original and proposed changes, then asks for permission. You can accept, reject, or tell Claude what to do instead.
If you edit the proposed content directly in the diff view before accepting, Claude is told that you modified it, so it does not assume the file matches its original proposal.
The VS Code extension also supports checkpoints, which track Claude's file edits and let you rewind to a previous state. Hover over a message to reveal the rewind button and choose from "Fork conversation from here", "Rewind code to here" or "Fork conversation and rewind code".
Key takeaway: every change goes through a side-by-side diff you can edit before accepting, and checkpoints let you rewind.
How do you find and resume a past conversation?
Click the Session history button at the top of the Claude Code panel to access your history. You can search by keyword or browse by time (Today, Yesterday, Last 7 days, etc.). Click any conversation to resume it with the full message history.
New sessions receive AI-generated titles based on your first message. Hover over a session to rename or remove it.
If you use Claude Code on the web, you can resume those remote sessions directly in VS Code via the Remote tab of the history dialog. This requires signing in with a Claude.ai subscription (not Anthropic Console), and only web sessions started with a GitHub repository appear in that tab.
Key takeaway: history lets you search, rename and resume local sessions, and the Remote tab pulls in web sessions started on a GitHub repository.
How do you install and use the JetBrains plugin?
Claude Code integrates with JetBrains IDEs through a dedicated plugin, with interactive diff viewing, selection context sharing, and more. The plugin works with most JetBrains IDEs, including IntelliJ IDEA, PyCharm, Android Studio, WebStorm, PhpStorm and GoLand.
Install the Claude Code plugin from the JetBrains marketplace, then restart your IDE completely.
To use it, run claude from your IDE's integrated terminal: all integration features are then active. From an external terminal, connect Claude Code to your IDE with the command:
/ide
The plugin offers the following features:
- Quick launch:
Cmd+Esc(Mac) orCtrl+Esc(Windows/Linux) opens Claude Code from your editor. - Diff viewing: code changes display in the IDE diff viewer instead of the terminal.
- Selection context: the current selection or tab is automatically shared with Claude Code.
- File references:
Cmd+Option+K(Mac) orAlt+Ctrl+K(Linux/Windows) inserts a reference such as@src/auth.ts#L1-99. - Diagnostic sharing: lint and syntax errors from the IDE are shared with Claude automatically.
To choose where diffs appear, run /config in Claude Code and set the diff tool to auto (in the IDE) or terminal. Plugin settings live under Settings → Tools → Claude Code [Beta], where you can specify the Claude command (claude, /usr/local/bin/claude or npx @anthropic-ai/claude-code).
Key takeaway: install the plugin from the JetBrains marketplace, run claude in the integrated terminal (or /ide from an external terminal), and get IDE diffs and selection sharing.
Do settings and MCP work the same way inside the IDE?
Yes. The VS Code extension distinguishes two types of settings: extension settings specific to VS Code, and Claude Code settings in ~/.claude/settings.json, shared between the extension and the CLI for allowed commands, environment variables, hooks, and MCP servers.
To add an MCP server, open the integrated terminal and run claude mcp add. Once configured, manage your servers without leaving VS Code by typing /mcp in the chat panel.
claude mcp add --transport http github https://api.githubcopilot.com/mcp/ \
  --header "Authorization: Bearer YOUR_GITHUB_PAT"
To go deeper on this protocol, see the MCP (Model Context Protocol) guide. For the initial Claude Code setup, see Installation and first launch.
Key takeaway: the ~/.claude/settings.json file and MCP servers are shared between the IDE and the CLI, ensuring consistent configuration across every surface.
Which surface should you choose after the IDE?
The IDE suits daily development with visual review. For parallel sessions, visual diff review and scheduled tasks, look at the Desktop app. For long-running tasks and repos you do not have locally, see the web.
To compare every surface and pick the right one for your context, head to the comparison page.
Key takeaway: the IDE is ideal day to day, and you can switch to Desktop or the web as needed, because the same engine and configuration follow you everywhere.
Recent articles about Claude

Claude Managed Agents: Anthropic's Platform for Production Agent Deployment
Anthropic launches Managed Agents: a cloud platform for deploying AI agents in production. Secure sandbox, checkpointing, multi-agent, autonomous sessions lasting hours. Notion, Rakuten, Asana and Sentry already use it.

Claude Code Dream & Auto Dream: Automatic Memory Consolidation
After 20 sessions, Auto Memory notes become a mess. Auto Dream solves this by automatically consolidating Claude Code's memory: deduplication, stale entry removal, relative-to-absolute date conversion.
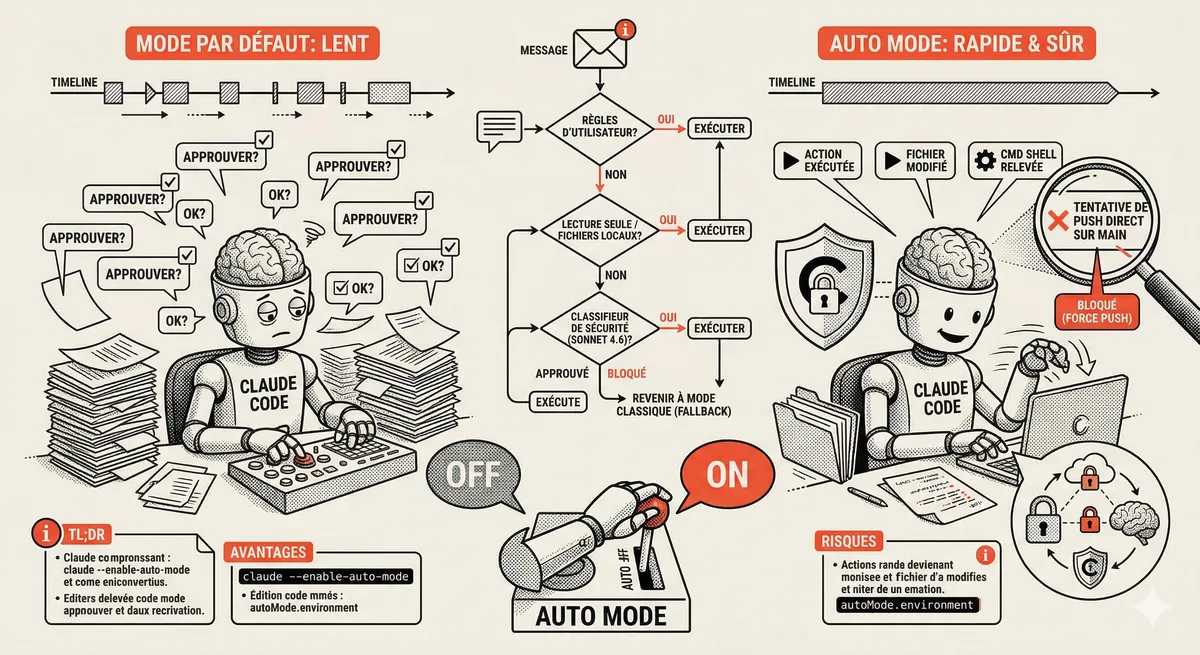
Claude Code Auto Mode: Autonomy Without the Risk
Auto Mode in Claude Code eliminates permission interruptions while keeping a safety net. A classifier analyzes every action before execution and blocks destructive operations. The sweet spot between approving everything and letting everything through.
Claude Code Training
Master Claude Code fundamentals in 1 day with our expert instructors. 60% hands-on practice on real-world cases.
Discover the training