TL;DR
The Claude Code Desktop app (macOS and Windows, including ARM64) runs the same engine as the terminal, with a graphical interface. It adds parallel sessions isolated by Git worktrees, line-by-line visual diff review, an app preview, scheduled tasks, remote cloud sessions, and handoff from the CLI with the /desktop command.
The Claude Code Desktop app (macOS and Windows, including ARM64) runs the same engine as the terminal, with a graphical interface. It adds parallel sessions isolated by Git worktrees, line-by-line visual diff review, an app preview, scheduled tasks, remote cloud sessions, and handoff from the CLI with the /desktop command.
Claude Code runs across several surfaces that share the same engine. Your CLAUDE.md files, settings, and MCP servers work everywhere. The Desktop app is the graphical surface that brings the conversation, diffs, preview, terminal, and file editor together in a single window. To place Desktop among the other surfaces, see the surfaces and environments overview.
SFEIR Institute trainings
Claude Code Training
1 day · Fundamentals
AI-Augmented Developer
2 days · Intermediate
Which platforms does the Desktop app support?
The Desktop app is available on macOS and Windows. It does not exist on Linux: use the CLI in the terminal instead.
| Platform | Build | Download |
|---|---|---|
| macOS | Universal (Intel and Apple Silicon) | macOS download from the official docs |
| Windows x64 | x64 processors | Official Windows installer |
| Windows ARM64 | ARM64 processors | Dedicated ARM64 installer |
The Claude Desktop app has three tabs: Chat for conversations, Cowork for longer agentic work, and Code for software development. This page covers the Code tab.
After installing, launch Claude, sign in, then click the Code tab. On Windows, the first time you open the Code tab you need Git for Windows installed; restart the app after installing it.
Key takeaway: Desktop runs on macOS and Windows (x64 and ARM64); on Linux, stay on the CLI.
How do parallel sessions work?
In the Code tab, each conversation is a session: it has its own chat history, project folder, and code changes, independent of any other session. The sidebar lists your sessions and lets you run several in parallel.
Click + New session in the sidebar, or press Cmd+N on macOS and Ctrl+N on Windows. To move between sessions, press Ctrl+Tab and Ctrl+Shift+Tab.
For Git repositories, each session gets its own isolated copy of your project using Git worktrees. Changes in one session do not affect other sessions until you commit. By default, worktrees are stored in
The Desktop app sends an OS notification when a Code session finishes a task and you are not currently viewing that session.
Key takeaway: each session is isolated by a Git worktree, which lets you run multiple tasks at once without collisions.
How do you review changes visually with the diff view?
After Claude makes changes to your code, the diff view lets you review modifications file by file before creating a pull request.
When Claude changes files, a stats indicator appears, such as +12 -1 for the number of lines added and removed. Click it to open the diff viewer: the file list on the left, the changes for each file on the right.
To comment on specific lines, click any line in the diff to open a comment box, type your feedback, then submit. After adding comments to multiple lines, submit them all at once:
- macOS: Cmd+Enter
- Windows: Ctrl+Enter
Claude reads your comments and makes the requested changes, which appear as a new diff.
In the diff view, you can also click Review code to ask Claude to evaluate the changes before you commit. The review focuses on high-signal issues: compile errors, definite logic errors, security vulnerabilities, and obvious bugs. It does not flag style, formatting, or anything a linter would already catch.
Key takeaway: the diff view lets you review, comment line by line, and have Claude review the code before the commit.
How do you preview your app during a session?
Claude can start a dev server and open an embedded browser to verify its changes. This works for frontend web apps as well as backend servers: Claude can test API endpoints, view server logs, and fix issues it finds.
From the preview pane, you can interact directly with your running app, watch Claude verify its own changes (screenshots, DOM inspection, clicks, form filling), and start or stop servers from the Preview menu.
Claude detects your dev server setup automatically and stores the configuration in .claude/launch.json at the root of the folder you selected. To customize how the server starts, for example yarn dev instead of npm run dev, edit this file:
{
  "version": "0.0.1",
  "configurations": [
    {
      "name": "web",
      "runtimeExecutable": "yarn",
      "runtimeArgs": ["dev"],
      "port": 3000
    }
  ]
}
Key takeaway: Desktop launches an embedded preview and auto-verifies changes after every edit, unless you turn off autoVerify.
How do you schedule recurring tasks and run cloud sessions?
For long-running work such as large refactors, test suites, or migrations, select Remote instead of Local when starting a session. Remote sessions run on Anthropic's cloud infrastructure and continue even if you close the app or shut down your computer.
You can check back anytime to follow progress or steer Claude in a different direction. A remote session stays visible from Claude Code on the web, on claude.ai/code, or in the Claude iOS app. Remote sessions also support multiple repositories: after selecting a cloud environment, click the + button next to the repo to add more.
For recurring, scheduled work, Desktop offers scheduled tasks. Where the CLI relies on cron jobs or CI pipelines, Desktop runs these recurring tasks directly from the interface.
Key takeaway: Remote sessions run in the cloud and survive closing the app, while scheduled tasks automate recurring work from Desktop.
How do you hand off between the CLI and Desktop?
If you already use the CLI, Desktop runs the same underlying engine with a graphical interface. You can run both simultaneously on the same machine, even on the same project. Each maintains separate session history, but they share configuration and project memory via CLAUDE.md files.
To move a session from the terminal into Desktop, run /desktop in the terminal:
/desktop
Claude saves your session, opens it in the Desktop app, then exits the CLI. This command is available on macOS and Windows when you are signed in with a Claude subscription. It is not available with API key authentication or on Bedrock, Vertex, or Foundry.
In the other direction, the Continue in menu, accessible from the session toolbar, lets you send your local session to Claude Code on the web or open it in your IDE. For more on the IDE extensions, see Claude Code in your IDE.
Key takeaway: /desktop moves a session from the terminal into the app, and the Continue in menu enables the reverse path to the web or IDE.
What configuration is shared between Desktop and the CLI?
Desktop and the CLI read the same configuration files, so your setup carries over from one surface to another:
- The CLAUDE.md and
CLAUDE.local.mdfiles in your project are used by both. - The MCP servers configured in
~/.claude.jsonor.mcp.jsonwork in both. - Hooks and skills defined in settings apply to both.
- Settings in
~/.claude.jsonand~/.claude/settings.jsonare shared. Permission rules also apply to Desktop sessions.
Some features stay specific to the CLI or IDE extensions: third-party providers Bedrock and Foundry, inline code suggestions, agent teams (parallel sessions that message each other), and terminal-dialog commands such as /permissions, /config, /agents, and /doctor. For those settings in Desktop, edit the configuration files directly.
To compare Desktop, the terminal, and the web in detail, see the surface comparison page.
Key takeaway: CLAUDE.md, MCP, hooks, skills, and permission rules are shared between Desktop and the CLI; only a few automation and scripting features stay exclusive to the terminal.
When should you prefer Desktop over the terminal?
The right surface depends on how you work. Desktop and CLI share the same engine and configuration; the difference is the interface and the workflows.
| You want to | Recommended surface |
|---|---|
| Manage several parallel sessions in one window | Desktop |
| Arrange chat, diff, preview, and terminal side by side | Desktop |
| Review changes visually and comment on diffs | Desktop |
| Launch an embedded preview of your app | Desktop |
Script and automate (--print, Agent SDK) | CLI in the terminal |
| Work entirely from the keyboard in a terminal | CLI in the terminal |
To go further with the tool in practice, the Claude Code training (1 day) from SFEIR Institute covers installation, configuration, and full onboarding through guided labs.
Key takeaway: use Desktop for parallelism, pane layout, and visual review; keep the CLI for scripting, automation, and fully keyboard-driven workflows.
Recent articles about Claude
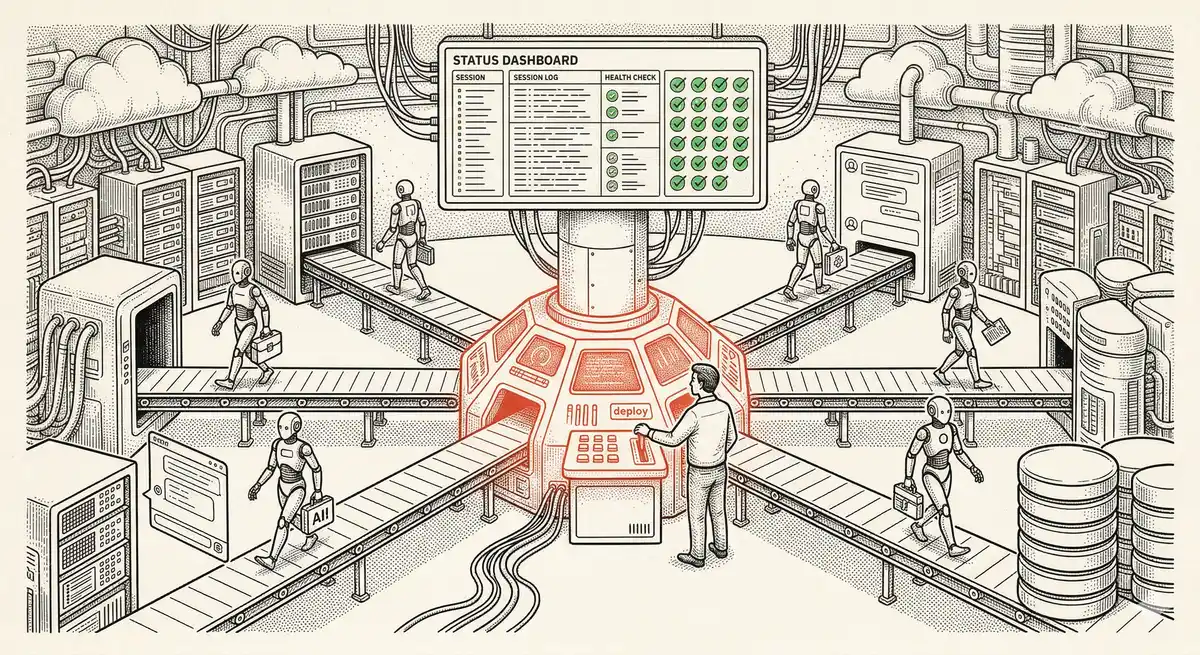
Claude Managed Agents: Anthropic's Platform for Production Agent Deployment
Anthropic launches Managed Agents: a cloud platform for deploying AI agents in production. Secure sandbox, checkpointing, multi-agent, autonomous sessions lasting hours. Notion, Rakuten, Asana and Sentry already use it.
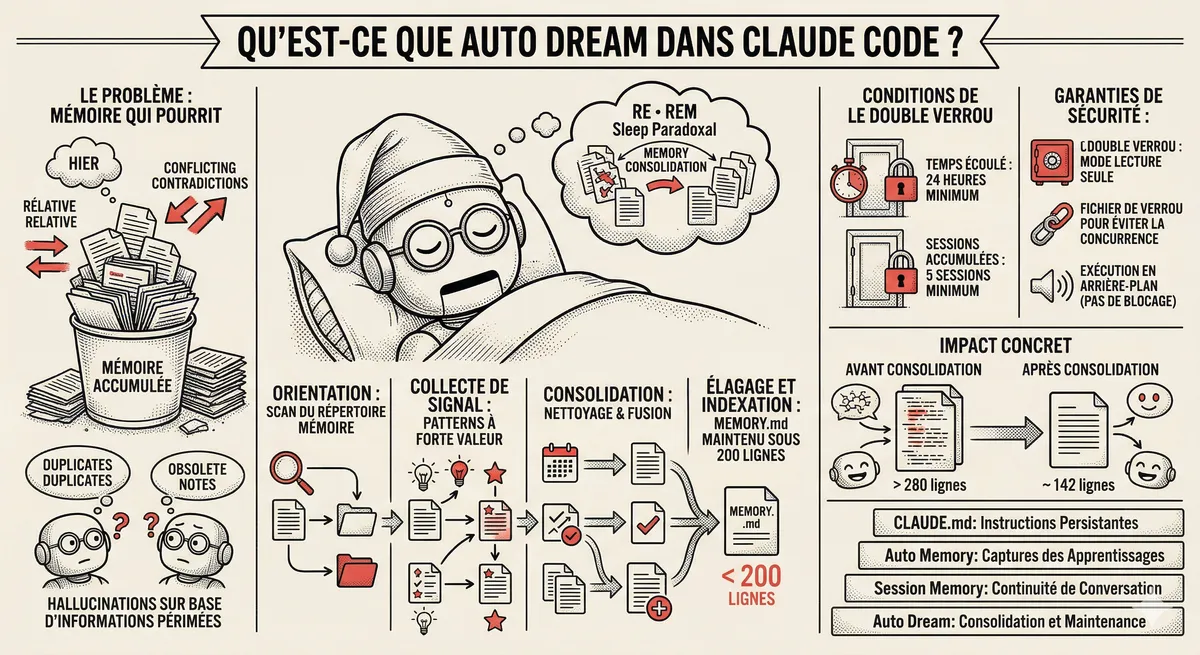
Claude Code Dream & Auto Dream: Automatic Memory Consolidation
After 20 sessions, Auto Memory notes become a mess. Auto Dream solves this by automatically consolidating Claude Code's memory: deduplication, stale entry removal, relative-to-absolute date conversion.
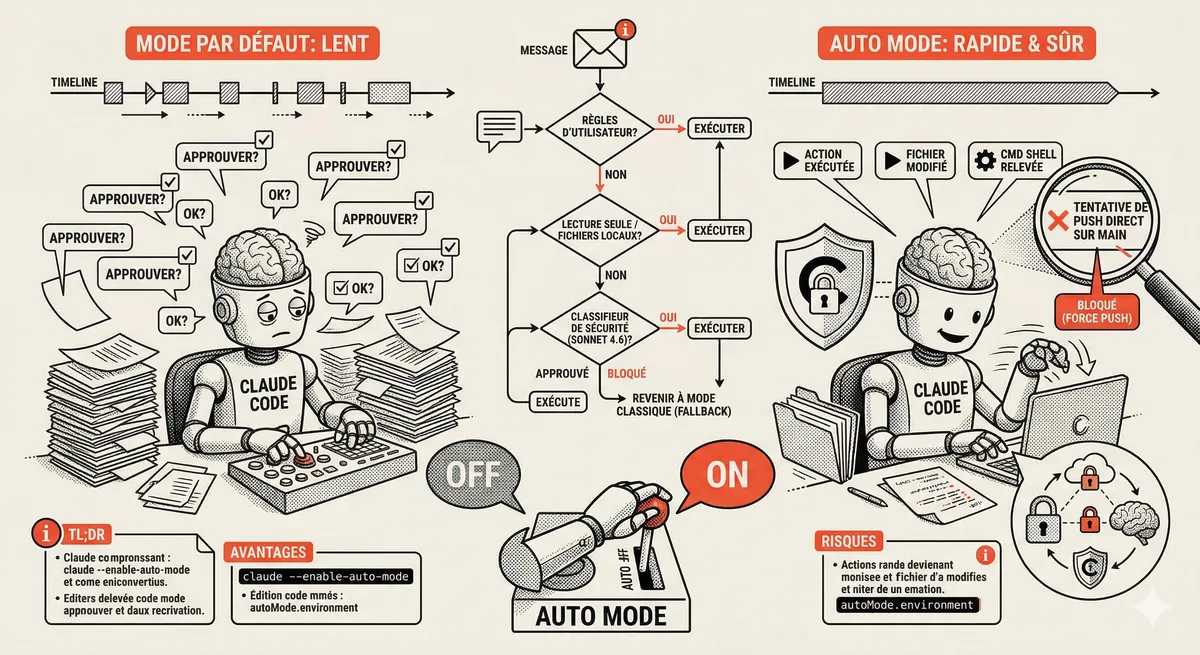
Claude Code Auto Mode: Autonomy Without the Risk
Auto Mode in Claude Code eliminates permission interruptions while keeping a safety net. A classifier analyzes every action before execution and blocks destructive operations. The sweet spot between approving everything and letting everything through.
Claude Code Training
Master Claude Code fundamentals in 1 day with our expert instructors. 60% hands-on practice on real-world cases.
Discover the training