TL;DR
The terminal CLI is the original Claude Code surface. Install the tool, run the claude command, automate with headless -p mode, and know when the command line is the right choice.
The terminal CLI is the original Claude Code surface. Install the tool, run the claude command, automate with headless -p mode, and know when the command line is the right choice.
Claude Code runs on the same engine across every surface. Your CLAUDE.md file, your settings, and your MCP servers work everywhere, from the terminal to the IDE to the web. The terminal is therefore not the only way to use Claude Code, but it remains the most direct surface for driving the agent close to your file system. For a full overview of the available surfaces, see the Surfaces and Environments page.
SFEIR Institute trainings
Claude Code Training
1 day · Fundamentals
AI-Augmented Developer
2 days · Intermediate
How do you install Claude Code from the command line?
The native install is the recommended method. It updates automatically in the background to keep you on the latest version.
On macOS, Linux, and WSL:
curl -fsSL https://claude.ai/install.sh | bash
On Windows PowerShell:
irm https://claude.ai/install.ps1 | iex
On Windows CMD:
curl -fsSL https://claude.ai/install.cmd -o install.cmd && install.cmd && del install.cmd
You can also install through Homebrew on macOS with brew install --cask claude-code, or through WinGet on Windows with winget install Anthropic.ClaudeCode. Homebrew and WinGet installs do not auto-update: run brew upgrade claude-code or winget upgrade Anthropic.ClaudeCode to get the latest versions.
The full prerequisites and edge cases are covered in the Installation and First Launch guide.
Key takeaway: the native install via curl or irm auto-updates. Homebrew and WinGet require a manual upgrade.
How do you start an interactive session with the claude command?
Claude Code requires an account. Start an interactive session with the claude command, and you'll be prompted to log in on first use:
claude
Follow the prompts to complete authentication in your browser. You can log in with a Claude Pro, Max, Team, or Enterprise subscription, with a Claude Console account, or through Amazon Bedrock, Google Vertex AI, or Microsoft Foundry. To switch accounts later, type /login inside the running session.
To begin a real working session, open your terminal in your project directory and start the tool:
cd /path/to/your/project
claude
The Claude Code prompt shows the version, current model, and working directory. Type /help for available commands, or /resume to continue a previous conversation. Claude Code reads your project files as needed, so you don't have to add context manually.
Key takeaway: claude opens an interactive session in the current directory and reads your project automatically.
What are the essential CLI commands?
A handful of commands cover most daily use from the terminal.
| Command | What it does | Example |
|---|---|---|
claude | Start interactive mode | claude |
claude "task" | Start an interactive session with an initial prompt | claude "fix the build error" |
claude -p "query" | Run a one-off query, then exit | claude -p "explain this function" |
claude -c | Continue the most recent conversation | claude -c |
claude -r | Resume a previous conversation | claude -r |
/clear | Clear conversation history | /clear |
/help | Show available commands | /help |
exit or Ctrl+D | Exit Claude Code | exit |
Inside the interactive prompt, type / to see all available commands and skills. The most useful slash commands are detailed in the Essential Slash Commands guide.
Key takeaway: claude, claude -p, claude -c, and claude -r cover the four main ways to start from the terminal.
How does headless mode work with the -p flag?
The -p flag (or --print) runs a one-off query, then exits, without opening an interactive session. This is Claude Code's headless mode, the one that lets you embed the agent in scripts and pipelines.
claude -p "explain this function"
Because the command prints its result to standard output and then terminates, you can compose it with other Unix tools. You can redirect its output to a file, chain it inside a shell script, or call it from a continuous integration step. The -p mode is therefore the bridge between everyday interactive use and automation.
Key takeaway: claude -p runs a single query then exits, which makes it ideal for scripts and pipelines.
When is the terminal CLI the right choice?
The terminal is the best surface when you already work on the command line and want to drive the agent close to your file system, Git, and build tools. It suits developers comfortable with the shell, automation scripts via -p, and server or container environments where no graphical interface is available.
That said, the terminal is not the only option. Claude Code shares the same engine across all its surfaces, and depending on your workflow another surface may be more comfortable. If you prefer reviewing changes as inline visual diffs and using @-mentions directly in your editor, the IDE surface (VS Code, Cursor, JetBrains) will fit you better. The Surface comparison page helps you choose based on your context.
Key takeaway: choose the terminal for shell workflows, automation, and environments without a graphical interface. The other surfaces share the same engine and configuration.
Where to go next
You now understand the terminal surface of Claude Code, from install to headless mode. To deepen your practice with the tool, SFEIR Institute's Claude Code course (1 day) covers installation, configuration, and complete onboarding through guided labs.
Here are the pages to continue with:
- Install step by step: the Installation and First Launch guide details prerequisites and options.
- Drive the agent: the Essential Slash Commands cover the interactive prompt commands.
- Compare surfaces: the Surfaces and Environments page presents the IDE, desktop, web, and other environments.
Key takeaway: the terminal is one entry point among several. Everything you configure here, CLAUDE.md, settings, and MCP servers, follows you across every surface.
Recent articles about Claude
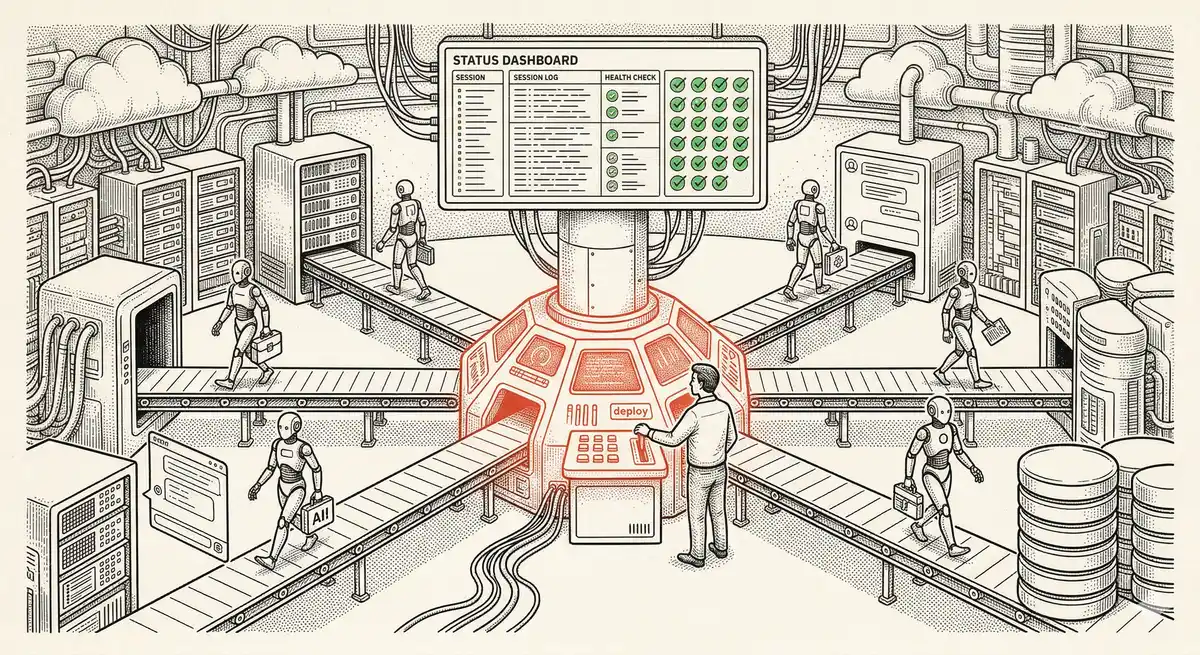
Claude Managed Agents: Anthropic's Platform for Production Agent Deployment
Anthropic launches Managed Agents: a cloud platform for deploying AI agents in production. Secure sandbox, checkpointing, multi-agent, autonomous sessions lasting hours. Notion, Rakuten, Asana and Sentry already use it.
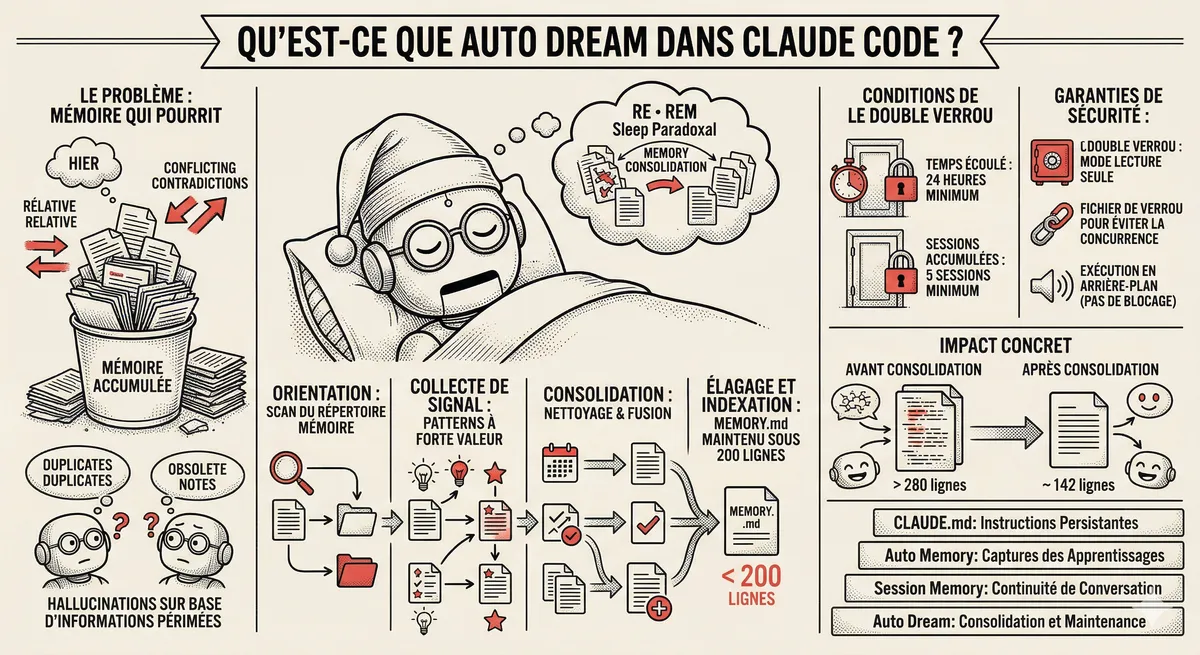
Claude Code Dream & Auto Dream: Automatic Memory Consolidation
After 20 sessions, Auto Memory notes become a mess. Auto Dream solves this by automatically consolidating Claude Code's memory: deduplication, stale entry removal, relative-to-absolute date conversion.
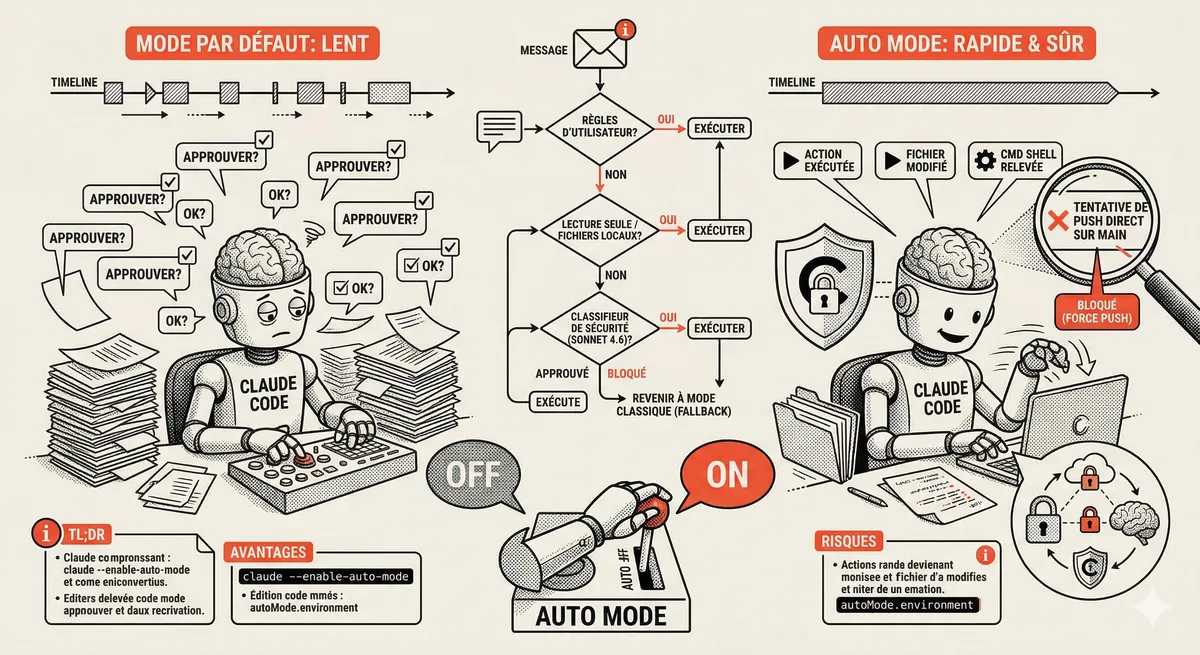
Claude Code Auto Mode: Autonomy Without the Risk
Auto Mode in Claude Code eliminates permission interruptions while keeping a safety net. A classifier analyzes every action before execution and blocks destructive operations. The sweet spot between approving everything and letting everything through.
Claude Code Training
Master Claude Code fundamentals in 1 day with our expert instructors. 60% hands-on practice on real-world cases.
Discover the training