TL;DR
This tutorial teaches you to master the Claude Code context window, from the anatomy of the token budget to horizontal scaling with multi-sessions. You will discover how to optimize, compact, and structure your conversations to maintain fast and relevant responses throughout your development sessions.
This tutorial teaches you to master the Claude Code context window, from the anatomy of the token budget to horizontal scaling with multi-sessions. You will discover how to optimize, compact, and structure your conversations to maintain fast and relevant responses throughout your development sessions.
Context management in Claude Code is the skill that separates a casual user from a productive developer. Current models (Opus 4.6 and later, Sonnet 4.6) support a context window of up to 1 million tokens, while older models and the Bedrock, Vertex, and Foundry defaults stay at 200,000 tokens (roughly 150,000 words). Even with a large window, without an optimization strategy this capacity fills up faster than you expect. Many of the slowdowns developers perceive stem from poorly anticipated context saturation.
This step-by-step tutorial guides you through five concrete steps to configure Claude Code's context management and maintain optimal performance on your projects.
SFEIR Institute trainings
Claude Code Training
1 day · Fundamentals
AI-Augmented Developer
2 days · Intermediate
What are the prerequisites before getting started?
Before following this tutorial, verify that you have the following:
- Claude Code 2.0 or higher installed (consult the installation and first launch tutorial if needed)
- Node.js 18 or later (only required for the npm install method; the native installer needs no Node)
- A terminal with shell access (zsh, bash)
- A Git-initialized project with at least 10 source files
Run this command to check your version:
claude --version
| Prerequisite | Minimum version | Verification |
|---|---|---|
| Claude Code | latest version | claude --version |
| Node.js | 18 or later | node --version |
| Git | any recent Git (optional, recommended) | git --version |
Estimated total duration: about 25 minutes for the entire tutorial.
Key takeaway: confirm each prerequisite before moving to the steps. A misconfigured environment generates errors that are difficult to diagnose.
How does the context window work? (Step 1 - ~3 min)
Open a Claude Code session and run the /context command to visualize context-window usage as a colored grid, or /usage (alias /cost) to display your session token totals and a cost estimate.
claude
> /cost
> /context
A token is a text unit of roughly 4 characters in English and 3 characters in French. The Claude Code context window represents the AI's working memory for your current conversation. Current models (Opus 4.6+ and Sonnet 4.6) offer up to 1 million tokens, while older models and the Bedrock, Vertex, and Foundry defaults provide 200,000 tokens. Whatever your window size, the budget is distributed across several layers.
| Layer | Content | Typical tokens |
|---|---|---|
| System prompt | Claude Code instructions, CLAUDE.md | 5,000-15,000 |
| Files read | Source code loaded via Read | 20,000-80,000 |
| Conversation history | Your previous exchanges | 30,000-100,000 |
| Generated response | Model output | 5,000-15,000 |
In practice, a 500-line TypeScript file consumes about 4,000 tokens. An average JSON configuration file represents 1,500 tokens. Here is how to visualize the breakdown: the /context command displays the percentage of context used.
To dive deeper into the complete anatomy of this window, consult the context management deep dive that details each layer with precise metrics.
Verification: the /cost command displays your session token totals and a cost estimate, while /context shows the context-window breakdown. With /context, you should see a context usage percentage below 10% at the start of a session.
Warning: if you see "command not found", update Claude Code with npm install -g @anthropic-ai/claude-code@latest (or run claude update). Avoid npm update -g, which may not pull the latest version.
Key takeaway: monitor your context usage from the start of the session with /context. Waiting for saturation is already too late.
How to optimize context with best practices? (Step 2 - ~5 min)
Apply these three context optimization strategies to significantly extend the productive length of your sessions.
Strategy 1: target loaded files
Use precise instructions instead of vague requests. Every file read consumes context.
# Bad practice - loads too many files
> "Look at the whole project and find the bugs"

# Good practice - targets a specific file
> "Analyze errors in src/api/auth.ts lines 45-80"
A targeted request loads only the relevant files, so it consumes far fewer tokens than a broad request that pulls in much of the project. These savings extend your session accordingly.
Strategy 2: break down complex tasks
Divide each task into sub-goals handled in separate conversations. In practice, instead of asking "refactor the entire user module", create three distinct sessions:
- Session 1: refactor types and interfaces
- Session 2: refactor business logic
- Session 3: update tests
If you are starting with Claude Code conversations, the tutorial on your first conversations shows you how to effectively structure your exchanges.
Strategy 3: use CLAUDE.md as persistent memory
Configure a CLAUDE.md file at the root of your project to store conventions and recurring context. This file is loaded automatically and avoids repeating the same instructions.
# CLAUDE.md
## Conventions
- Framework: Next.js 15 with App Router
- Style: TypeScript strict, ESLint Airbnb
- Tests: Vitest + Testing Library
## Architecture
- /src/api: REST API routes
- /src/components: React components
The dedicated CLAUDE.md memory system tutorial covers advanced configuration of this file in detail.
Verification: run cat CLAUDE.md in your terminal. The file should contain your project conventions in under 50 lines (approximately 2,000 tokens).
Key takeaway: a well-structured CLAUDE.md saves between 5,000 and 15,000 tokens per session by avoiding repeated instructions.
How to use Plan mode to save tokens? (Step 3 - ~5 min)
Activate Plan mode with the Shift+Tab shortcut or the dedicated command to switch Claude Code into thinking mode.
# Switch to Plan mode
> Shift+Tab
# Shift+Tab cycles permission modes (default -> accept edits -> plan)
# The indicator shows "plan mode on" when Plan mode is active
Plan mode is a mechanism that separates the thinking phase from the execution phase. In Plan mode, Claude Code analyzes your request, proposes a strategy, and waits for your validation before acting. This approach reduces tokens wasted on incorrect actions that would require a rollback.
| Mode | When to use it |
|---|---|
| Default | Standard work where Claude asks before each sensitive action |
| Plan then execution | Plan first, validate, then let Claude carry out the agreed steps |
| Plan only (research) | Explore and design without making any changes |
In practice, planning before acting avoids tokens wasted on incorrect actions that would need a rollback. Use it systematically when the task involves more than 3 files.
Here is how to structure a Plan mode session:
# 1. Activate Plan mode
> Shift+Tab

# 2. Describe the task
> "Plan the migration of the REST API to tRPC for the auth module"

# 3. Validate the proposed plan, then cycle back out of Plan mode
> Shift+Tab
> "Execute the plan"
For a complete list of available commands, the essential slash commands tutorial is the reference to consult.
Warning: if Plan mode does not activate, verify that you are using Claude Code 2.0 or higher. Earlier versions do not support this feature.
Verification: the indicator at the bottom of your terminal should display "plan mode on". Type a request: Claude Code should respond with a numbered plan without executing any modifications.
Key takeaway: Plan mode is not a gimmick. It is your primary tool for keeping control over token consumption and action quality.
How to configure automatic compaction and PreCompact hooks? (Step 4 - ~7 min)
Configure automatic compaction so that Claude Code summarizes and compresses conversation history when the context approaches its limit. Compaction is the process that condenses past exchanges into a structured summary, freeing up space for new exchanges.
Triggering compaction manually
Run the /compact command to trigger immediate compaction:
> /compact
You can also provide custom instructions to guide the compaction:
> /compact preserve architectural decisions and modified file paths
In practice, a compaction can significantly reduce context usage while preserving critical information, freeing up substantial space for new exchanges.
Configuring automatic compaction
Compaction triggers automatically when the context approaches its limit. There is no documented setting to change this threshold, but you can steer the process yourself: run /compact with custom instructions when you want to compact at a specific moment, or record durable conventions and context in your CLAUDE.md so they survive every compaction.
To quickly find compaction-related commands, the context management cheatsheet consolidates all essential commands in a condensed format.
Setting up a PreCompact hook
PreCompact hooks allow you to run a script before each compaction. Create a hook that saves critical state:
{
  "hooks": {
    "PreCompact": [
      {
        "matcher": "auto",
        "hooks": [
          {
            "type": "command",
            "command": "echo '## Session $(date +%Y%m%d-%H%M)' >> .claude/compaction-log.md",
            "timeout": 5
          }
        ]
      }
    ]
  }
}
This hook records a timestamp in a log file at each compaction. You can extend this mechanism to save metrics, notify a team, or archive decisions.
Command hooks default to a 600-second timeout (the timeout field is in seconds). Keep your PreCompact scripts fast so they do not delay compaction.
Verification: run /compact manually, then check that the .claude/compaction-log.md file has been created with a timestamp.
cat .claude/compaction-log.md
# Should display: ## Session 20260220-1430 (or similar)
Warning: if the hook does not execute, verify that the configuration file is located at .claude/settings.json at the project root and that the JSON syntax is valid with cat .claude/settings.json | python3 -m json.tool.
Key takeaway: compaction is your safety net. Configure it once, and it automatically protects all your sessions from context saturation.
How to scale with multi-sessions and parallelism? (Step 5 - ~5 min)
Launch multiple Claude Code instances in parallel to handle independent tasks without sharing a single context. Multi-session is the technique of distributing work across several distinct context windows.
Opening parallel sessions
Open multiple terminals and start a Claude Code instance in each:
# Terminal 1 - Backend
cd ~/project && claude
> "Refactor src/api/users.ts"

# Terminal 2 - Frontend
cd ~/project && claude
> "Add pagination to the UserList.tsx component"

# Terminal 3 - Tests
cd ~/project && claude
> "Write tests for the auth module"
Each session has its own full context window (up to 1 million tokens on current models, 200,000 on older or Bedrock/Vertex/Foundry defaults). Three parallel sessions therefore multiply your effective capacity by three.
The context management optimization guide details advanced strategies for effectively coordinating these parallel sessions.
Coordinating sessions with Git
Use Git as a synchronization mechanism between your sessions:
# Session 1 completes its work
> /context
> "Commit the changes on the feat/users-refactor branch"

# Session 2 fetches changes if needed
> "Pull the latest changes from feat/users-refactor"
| Strategy | Number of sessions | Use case |
|---|---|---|
| Single session | 1 | Simple task, < 30 min |
| Dual session | 2 | Front/back separated |
| Triple session | 3 | Front + back + tests |
| Session per module | 4+ | Large-scale refactoring |
In practice, multi-session can substantially reduce the time needed for a complete refactoring by running independent tasks in parallel. For each session, check /context regularly to monitor usage.
Git integration with Claude Code is a prerequisite for coordinating parallel sessions. Master branch workflows before launching multiple instances.
Verification: run ps aux | grep claude in a separate terminal. You should see as many Claude processes as open sessions.
Warning: if sessions interfere with each other through concurrent modifications on the same files, use distinct Git branches per session. Merge branches after validating each task.
Key takeaway: multi-session transforms a single window's limit into an extensible resource: each session brings its own complete context window.
What are the common pitfalls and how to avoid them?
Here are the most frequent mistakes you will encounter when managing Claude Code's context:
- Loading entire files instead of targeting specific lines: a 2,000-line file consumes 16,000 tokens unnecessarily
- Ignoring saturation signals: when response times grow noticeably longer, the context is probably close to saturation
- Never compacting: without compaction, a sustained refactoring session can exceed even a large context window after enough exchanges
- Mixing tasks in a single session: every topic change adds noise to the context
- Forgetting CLAUDE.md: repeating conventions each session wastes 3,000 to 5,000 tokens every time
To dive deeper into all aspects of context management, the main context management page centralizes all available resources.
| Pitfall | Token cost | Solution |
|---|---|---|
| Entire file instead of targeted lines | +12,000 | Specify lines |
| No CLAUDE.md | +4,000/session | Create CLAUDE.md |
| Single session for everything | Saturates after relatively few exchanges | Multi-sessions |
| No compaction | Context loss | Regular /compact |
Developers who apply the 5 steps of this tutorial notice a meaningful increase in the productive duration of their sessions.
Key takeaway: context management is proactive. Put your strategies in place before hitting the limits, not after.
How to go further with context management?
You now have the fundamentals down. Here are the next steps to become an expert in context management with Claude Code.
Explore the MCP protocol (Model Context Protocol) that extends Claude Code's capabilities with external data sources. The MCP tutorial guides you through configuring MCP servers to connect databases, APIs, and third-party tools directly into the context.
For effective daily practice, keep the context management cheatsheet at hand. It condenses all the commands and shortcuts covered in this tutorial.
SFEIR Institute offers a Claude Code one-day training that lets you practice these context optimization techniques on concrete labs with real projects. For those who want to integrate Claude Code into a complete development workflow, the AI-Augmented Developer 2-day training covers the full range of AI tools for developers, from code generation to automated review.
The AI-Augmented Developer - Advanced one-day training deepens multi-agent architectures and advanced prompt engineering patterns.
Recap of the 5 steps
- Understand the anatomy of the context window and monitor with
/context - Optimize by targeting your requests, splitting tasks, and configuring CLAUDE.md
- Activate Plan mode to reduce tokens wasted on incorrect actions
- Configure automatic compaction and PreCompact hooks
- Scale with multi-sessions to multiply your context capacity
Key takeaway: context management is an investment: 25 minutes of initial configuration saves you hours of productivity on every project.
Recent articles about Claude
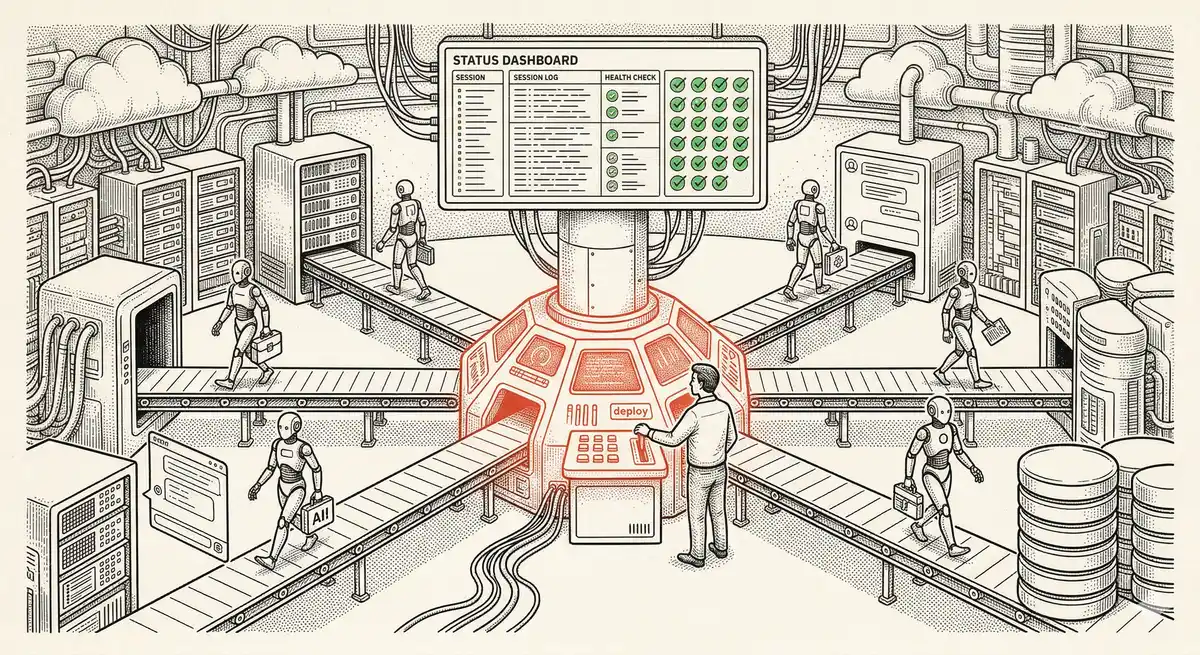
Claude Managed Agents: Anthropic's Platform for Production Agent Deployment
Anthropic launches Managed Agents: a cloud platform for deploying AI agents in production. Secure sandbox, checkpointing, multi-agent, autonomous sessions lasting hours. Notion, Rakuten, Asana and Sentry already use it.
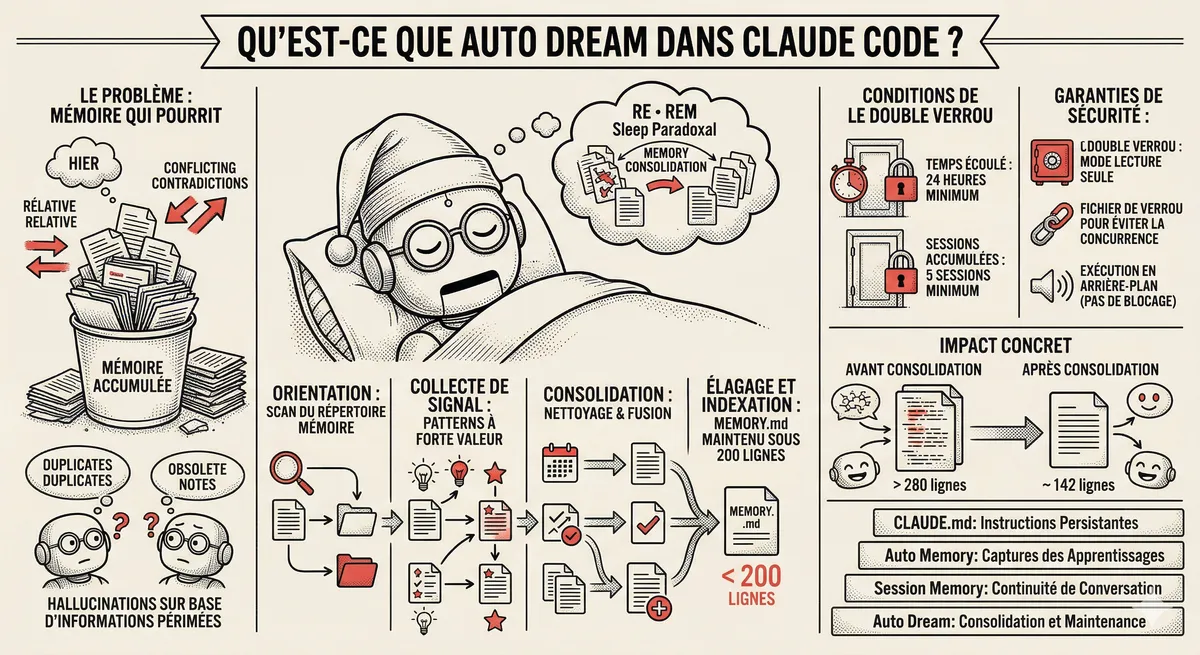
Claude Code Dream & Auto Dream: Automatic Memory Consolidation
After 20 sessions, Auto Memory notes become a mess. Auto Dream solves this by automatically consolidating Claude Code's memory: deduplication, stale entry removal, relative-to-absolute date conversion.
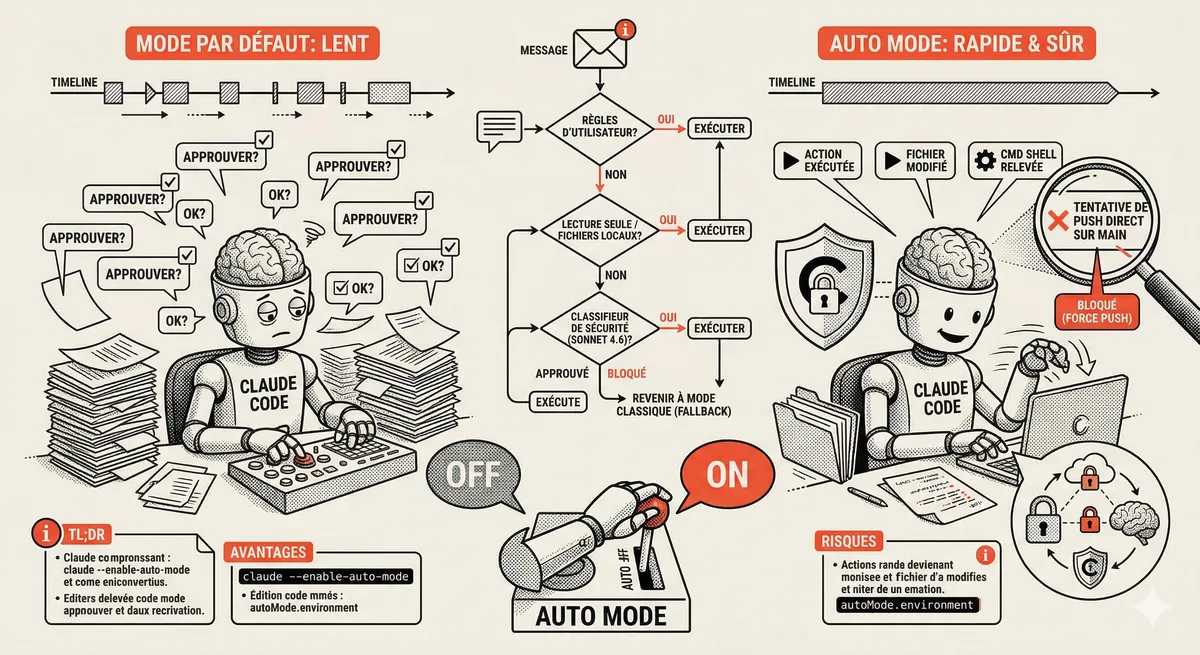
Claude Code Auto Mode: Autonomy Without the Risk
Auto Mode in Claude Code eliminates permission interruptions while keeping a safety net. A classifier analyzes every action before execution and blocks destructive operations. The sweet spot between approving everything and letting everything through.
This topic is covered in Module 4 of our Claude Code training
Documentation, Organization and Prompt Management
1-day training • 60% hands-on labs • Expert instructors
View full program