TL;DR
This tutorial guides you step by step through mastering Claude Code's slash commands - from `/help` to `/doctor` - to drive your sessions, manage context, and optimize your costs. By following these steps, you will know how to configure, diagnose, and get the most out of every interaction with the AI command-line assistant.
This tutorial guides you step by step through mastering Claude Code's slash commands (from /help to /doctor) to drive your sessions, manage context, and optimize your costs. By following these steps, you will know how to configure, diagnose, and get the most out of every interaction with the AI command-line assistant.
The essential slash commands in Claude Code are the primary control interface for interacting with the AI agent directly from your terminal. Claude Code offers dozens of native slash commands covering configuration, context management, cost tracking, and diagnostics. These commands significantly accelerate interaction compared to a traditional graphical interface.
SFEIR Institute trainings
Claude Code Training
1 day · Fundamentals
AI-Augmented Developer
2 days · Intermediate
What are the prerequisites before starting this tutorial?
Before launching your first slash command, verify that your environment is ready. You need Node.js 18 or higher (22 LTS recommended), an active Anthropic account, and Claude Code installed globally.
Run this command to confirm the installation:
claude --version
| Prerequisite | Minimum Version | Verification |
|---|---|---|
| Node.js | 18.x (22 LTS recommended) | node -v |
| npm | Bundled with Node.js | npm -v |
| Claude Code | 2.1.x (latest) | claude --version |
| Anthropic account | Active subscription | claude auth login |
If you have not yet installed the tool, check the quick start guide for installation which details each step in under 5 minutes. The complete tutorial takes approximately 25 minutes.
Key takeaway: three elements are essential: Node.js 18+, an Anthropic account, and Claude Code installed.
How to display help with /help? (~2 min)
Step 1: Launch the /help command
Open your terminal and start a Claude Code session. Type /help to display the complete list of available commands.
/help
The result shows all slash commands with a short description of each. You will find the categories: navigation, configuration, context, and diagnostics.
Step 2: Explore the displayed commands
The /help command shows the list of available commands and general help in a single view. To learn more about a particular command, check the online documentation or test it directly.
Verification: you should see the complete list of slash commands with a short description of each.
For a synthetic view of all commands, check the slash commands cheatsheet that you can keep at hand.
Key takeaway: /help is your entry point. Use it whenever you have a doubt about a command's syntax.
How to initialize a project with /init? (~3 min)
Step 3: Create the CLAUDE.md file with /init
Run /init at the root of your project to automatically generate a CLAUDE.md file adapted to your codebase.
/init
Claude Code analyzes your project structure (languages, frameworks, configuration files) and produces a CLAUDE.md file containing the detected conventions, build commands, and style rules.
What /init concretely generates
The CLAUDE.md file serves as persistent memory for the project. It contains the conventions, build commands, and style rules that Claude Code re-reads at each new session.
| Generated Element | Example | Purpose |
|---|---|---|
| Primary language | TypeScript | Adapts code suggestions |
| Build command | npm run build | Allows Claude to run builds |
| Test command | npm test | Runs tests automatically |
| Project structure | src/, lib/, tests/ | Guides code navigation |
Customize the file after generation to add your specific conventions. A well-filled CLAUDE.md improves Claude Code's response relevance.
Verification: check that the CLAUDE.md file exists at the root with ls CLAUDE.md.
If you see "No project detected", make sure you are in a directory containing at least one configuration file (package.json, pyproject.toml, etc.).
To understand how Claude Code interacts with your project after initialization, the tutorial on your first conversations shows you best practices.
Key takeaway: /init creates the CLAUDE.md file that gives Claude Code your project's context. Launch it once per project.
How to manage context with /clear and /compact? (~4 min)
Context management is the primary lever for maintaining precise responses throughout a long session. The size of the context window depends on the model you select, and saturating it degrades response quality regardless of the limit.
Reset with /clear
Use /clear to start from a clean conversation without leaving the session:
/clear
This command deletes the entire conversation history from memory. Your CLAUDE.md file remains loaded. In practice, launch /clear after each major topic change.
Compress with /compact
Prefer /compact when you want to preserve essential context while freeing up space:
/compact
Claude Code then summarizes the current conversation and keeps only key information, freeing up context while preserving what matters for the work in progress.
| Command | Effect | Context Preserved | Use Case |
|---|---|---|---|
/clear | Total deletion | None (except CLAUDE.md) | Topic change |
/compact | Intelligent compression | Summary of key points | Long session |
/compact [instructions] | Guided compression | Targeted summary | Focus on a theme |
You can also pass instructions to /compact to guide the summary. For example, /compact focus on auth.ts file modifications will only keep context related to that file.
To dive deeper into advanced strategies, the dedicated context management tutorial covers complex cases with multi-file projects.
Verification: after /compact, Claude Code displays a message confirming the compression and the number of tokens recovered.
If you lose important context after a /compact, restart the conversation with the necessary instructions or use /clear to start fresh.
Key takeaway: /clear erases everything, /compact compresses intelligently. Choose according to whether you are changing topics or extending a session.
How to monitor your costs with /cost? (~2 min)
Each interaction with Claude Code consumes billed tokens. Monitor your consumption in real time to avoid surprises.
Type /cost at any time during your session:
/cost
/cost is an alias for /usage: it reports your actual measured usage, including the tokens consumed (input and output) and the estimated cost of the current session. Token consumption varies widely depending on the task, the model, and the amount of context loaded.
| Metric | Description | What it depends on |
|---|---|---|
| Input tokens | Context sent to Claude | Varies by request size |
| Output tokens | Generated response | Varies by response length |
| Session cost | Total of the active session | Varies by session length |
| Plan limits | Remaining quota on your plan | Depends on your subscription |
Check /cost regularly when working on large projects. A well-timed /compact trims the context carried into subsequent requests, which helps keep token consumption in check.
If you want to master the security and permission aspects related to your usage, the permissions and security tutorial explains how to limit access.
Key takeaway: /cost is your financial dashboard. Check it before and after heavy operations.
How to configure Claude Code with /config, /model, and /login? (~5 min)
Adjust settings with /config
Open the configuration panel by typing:
/config
You access your session settings: theme, default model, verbosity level, and notification parameters. The /config command is an interactive entry point to global and local preferences.
Change models with /model
Switch between available models with /model:
/model
Claude Code offers you a choice among the models available on your account. The latest Opus, Sonnet, and Haiku models are available: use the opus, sonnet, and haiku aliases to always get the current version. Each model offers a trade-off between speed and reasoning capability.
| Model | Profile | Recommended Use Case |
|---|---|---|
haiku | Fastest, most economical | Quick tasks, autocompletion |
sonnet | Balanced speed and capability | Daily development |
opus | Most capable | Complex reasoning, architecture |
Manage authentication with /login and /logout
Connect to your Anthropic account:
/login
This command opens an authentication flow in your browser to sign in to your Anthropic account. Use /logout to cleanly disconnect at the end of a shared session.
/logout
In practice, /logout is essential on shared machines to protect your credentials. For fine-grained permission management on your projects, check the permissions quick start.
Verification: after /login, run /cost. If the command displays your data, authentication was successful.
If you see "Authentication failed", verify that your API key is valid and that your subscription is active on console.anthropic.com.
Key takeaway: /config customizes your environment, /model selects the right model for the task, and /login-/logout secure your access.
How to use /memory for cross-session persistence? (~3 min)
The /memory command is Claude Code's long-term memory mechanism. It allows you to store preferences and instructions that persist from one session to the next.
Open the memory editor:
/memory
Claude Code opens your CLAUDE.md file in the default editor. You can add permanent directives that Claude Code will automatically re-read at each launch.
What you can store in memory
Here is how to structure your memory for maximum effectiveness:
# Project preferences
- Always use TypeScript strict
- Prefer absolute imports with @/
- Tests with Vitest, not Jest
- Style: arrow functions, no classes

# Commands
- Build: pnpm build
- Test: pnpm test
- Lint: pnpm lint
Memory is hierarchical: the ~/.claude/CLAUDE.md file contains global preferences, while the CLAUDE.md at the project root contains specific conventions. In practice, separating the two levels improves project portability.
The CLAUDE.md file is loaded at the start of every session, ensuring immediate application of your directives.
To go further in customizing your sessions, the advanced slash commands tips offer powerful combinations with /memory.
Verification: after modification, restart a Claude Code session and ask "What are my preferences?". Claude should cite your directives.
Key takeaway: /memory transforms Claude Code into a personalized assistant that remembers your conventions between each session.
How to correct a Claude Code error? (~2 min)
Claude Code modified a file incorrectly or went in the wrong direction? You can use standard git commands to revert.
# Undo changes to a specific file
git checkout -- src/auth.ts

# Stash all current changes
git stash

# Undo the last commit
git reset HEAD~1
You can also ask Claude Code directly to undo its changes: "Undo the changes you just made to auth.ts". It will use git to restore the file.
To understand how Claude Code interacts with Git operations, check the Git integration tutorial which explains the relationship between Claude Code history and Git history.
Verification: after a git checkout -- , the file recovers its original content.
Key takeaway: standard git commands (git checkout, git stash, git reset) are your safety net for undoing Claude Code's actions.
How to diagnose problems with /doctor? (~3 min)
When Claude Code is not working as expected, /doctor analyzes your environment and identifies configuration issues.
Launch the full diagnostic:
/doctor
The command diagnoses and verifies your Claude Code installation and settings, showing the results with status icons. When it reports an issue, you can press f to have Claude fix it for you.
| Point Checked | Possible Status | Corrective Action |
|---|---|---|
| Node.js version | OK / Obsolete | Update via nvm install 22 |
| Authentication | Connected / Expired | Re-run /login |
| Network | Accessible / Blocked | Check proxy/firewall |
| Permissions | OK / Insufficient | chmod on the .claude directory |
In practice, /doctor surfaces common problems with clear status icons and can suggest or apply a fix. Here is how to interpret the output:
# Example /doctor output
Node.js: v22.11.0 (compatible)
Authentication: valid (expires in 29 days)
Network: api.anthropic.com unreachable
 -> Fix: check proxy settings or run 'export HTTPS_PROXY=...'
Disk space: 12.4 GB available
Run /doctor systematically after a Claude Code update or a network environment change. For a more in-depth diagnosis of security questions, the permissions guide complements /doctor's checks.
Verification: all points should show a pass status. If a failure persists after correction, contact Anthropic support.
Key takeaway: /doctor is your first reflex when something is not working: it diagnoses and proposes the solution.
How to direct Claude Code to the right files? (~2 min)
Claude Code accesses your project files automatically via its built-in tools (Read, Glob, Grep). Simply phrase your request in natural language:
> Read the file src/auth.ts and explain the authentication logic
> Search all files that import the database module
Claude Code browses relevant files and automatically integrates them into the conversation context. For large projects, you can be more specific in your requests to guide Claude Code toward the relevant files.
To master advanced context management mechanisms, the dedicated context management tutorial shows you how to make the most of your model's context window.
Verification: ask Claude Code "What files have you read?" to confirm it accessed the right files.
Key takeaway: Claude Code reads files automatically when you ask in natural language.
How to combine slash commands for an efficient workflow? (~3 min)
Slash commands reach their full power when you combine them in a structured workflow. Here is how to organize a typical development session.
Recommended 5-phase workflow
- Launch
/loginthen/doctorto validate your environment - Run
/initif it is a new project (once only) - Ask Claude Code to read relevant files in natural language
- Monitor with
/costevery 15 to 20 minutes - Compress with
/compactwhen context becomes large
This structured workflow optimizes token consumption over a full development day. To discover other advanced combinations, the slash commands tips page compiles workflows from experienced developers.
SFEIR Institute offers a one-day Claude Code training that includes hands-on labs on these workflows. You will build a complete project using all slash commands in a guided environment.
If you want to go further, the 2-day AI-Augmented Developer training covers integrating Claude Code into a complete development chain, from commit to automated code review. For experienced profiles, the one-day advanced training covers context optimization strategies and multi-agent pipelines.
Key takeaway: a structured workflow (diagnostics, initialization, context, monitoring, compression) maximizes your productivity with Claude Code.
Where to go further with slash commands?
You now master Claude Code's essential slash commands. To consolidate your skills, explore these complementary resources.
The slash commands FAQ answers the most frequently asked questions by developers. The slash commands reference page offers an overview with all optional parameters.
Developers who regularly reach for a handful of slash commands tend to drive their sessions faster and with fewer detours.
| Command | Recommended Usage Frequency | Impact on Productivity |
|---|---|---|
/compact | Every 20 min | Frees up context, helps control cost |
/cost | Every 15 min | Budget control |
/clear | At each topic change | Improves accuracy |
git checkout | In case of error | Instant restoration |
/doctor | After each update | Prevents blockages |
Key takeaway: mastering slash commands is an investment: 25 minutes of learning that will save you hours every week.
Recent articles about Claude
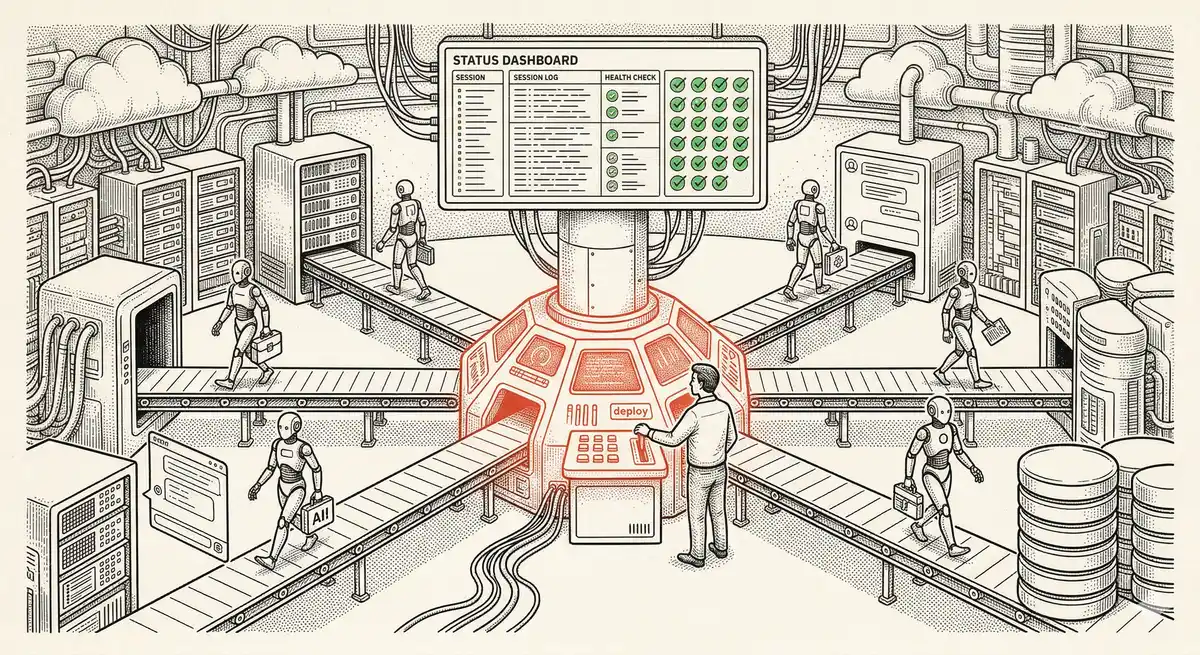
Claude Managed Agents: Anthropic's Platform for Production Agent Deployment
Anthropic launches Managed Agents: a cloud platform for deploying AI agents in production. Secure sandbox, checkpointing, multi-agent, autonomous sessions lasting hours. Notion, Rakuten, Asana and Sentry already use it.

Claude Code Dream & Auto Dream: Automatic Memory Consolidation
After 20 sessions, Auto Memory notes become a mess. Auto Dream solves this by automatically consolidating Claude Code's memory: deduplication, stale entry removal, relative-to-absolute date conversion.
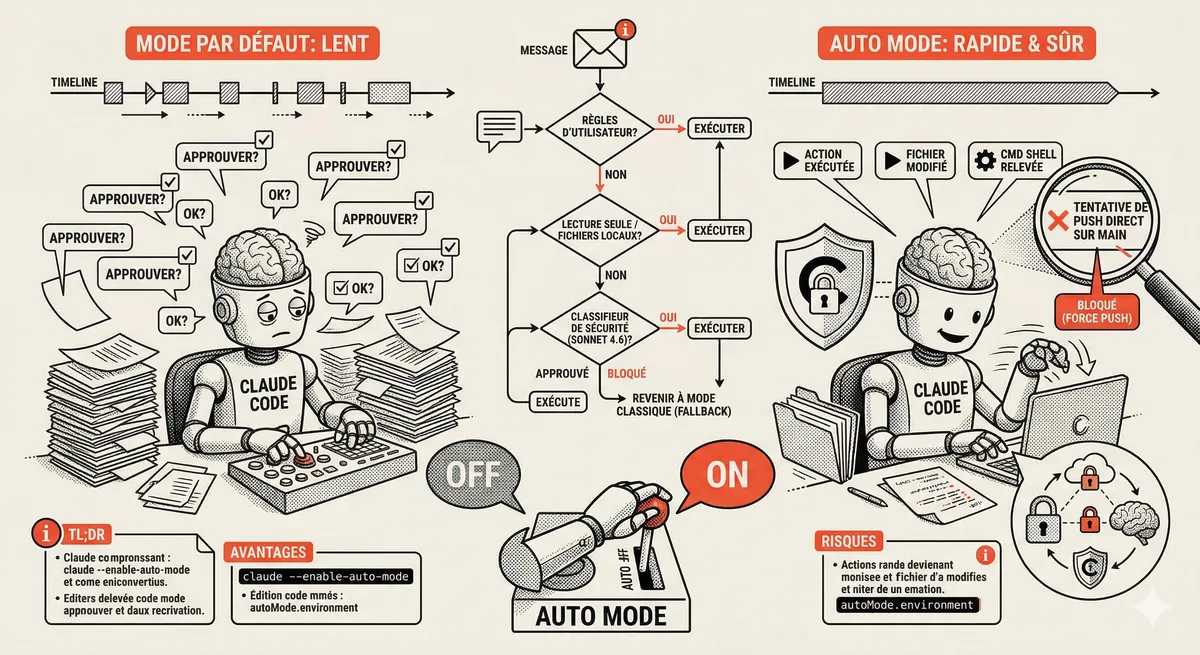
Claude Code Auto Mode: Autonomy Without the Risk
Auto Mode in Claude Code eliminates permission interruptions while keeping a safety net. A classifier analyzes every action before execution and blocks destructive operations. The sweet spot between approving everything and letting everything through.
This topic is covered in Module 6 of our Claude Code training
Useful Commands and Tips
1-day training • 60% hands-on labs • Expert instructors
View full program