TL;DR
Mastering Claude Code permissions and security protects you against unwanted executions, prompt injections, and data leaks. Here are 18 tips organized by theme to configure your permission modes, harden sandboxing, and lock down your `settings.json` effectively.
Mastering Claude Code permissions and security protects you against unwanted executions, prompt injections, and data leaks. Here are 18 tips organized by theme to configure your permission modes, harden sandboxing, and lock down your settings.json effectively.
Permissions and security in Claude Code form the foundation of any professional use of this command-line AI agent. Claude Code offers several permission mechanisms, a granular allow/deny rule system, and native sandboxing via Seatbelt (macOS) or bubblewrap (Linux).
many related to AI agents stem from misconfigured permissions. Understanding and applying these settings significantly reduces your attack surface.
SFEIR Institute trainings
Claude Code Training
1 day · Fundamentals
AI-Augmented Developer
2 days · Intermediate
How to choose the right permission mode for your use case?
Claude Code offers the permission modes that control the level of autonomy granted to the agent. Each mode corresponds to a different risk profile. Before launching your first session, identify your usage context to select the appropriate mode.
| Mode | CLI Flag | Behavior | Use Case | Risk Level |
|---|---|---|---|---|
default | --permission-mode default | Asks confirmation for every sensitive action | Daily development | Low |
acceptEdits | --permission-mode acceptEdits | Auto-approves file edits | Everyday development | Medium |
plan | --permission-mode plan | Analysis, proposes a plan before execution | Code review, audit | Minimal |
auto | --permission-mode auto | LLM classifier decides (Sonnet/Opus 4.6) | Team/Enterprise | Variable |
dontAsk | --permission-mode dontAsk | Pre-approved tools only | Restricted execution | Low |
bypassPermissions | --dangerously-skip-permissions | No confirmation, all permissions | Automated CI/CD only | High |
Tip 1: Always start in default mode. This mode asks for confirmation before every file write or command execution. In practice, many use it daily. You maintain full control over every action.
Tip 2: Use Shift+Tab or Alt+M to cycle through modes. In session, press Shift+Tab or Alt+M to cycle through available permission modes. You can switch from default to plan to acceptEdits without restarting Claude Code. Consult the complete permissions and security guide to understand each mode in detail.
Tip 3: Only use bypassPermissions mode in CI/CD. The --dangerously-skip-permissions flag disables all confirmations. Reserve this mode for automated pipelines in isolated containers. Outside a sandboxed environment, this mode exposes your system to arbitrary executions.
# Default mode
claude

# acceptEdits mode
claude --permission-mode acceptEdits

# Plan mode (analysis before action)
claude --permission-mode plan

# In session, Shift+Tab or Alt+M to cycle through modes

# Bypass mode (CI/CD only, in a container)
claude --dangerously-skip-permissions
Key takeaway: Default mode covers most use cases; only switch to bypass in an isolated CI/CD container.
Which allow/deny rules should you configure in settings.json?
The settings.json file in Claude Code lets you define granular rules to allow or block specific tools and commands. These rules apply at three levels: user (~/.claude/settings.json), project (.claude/settings.json), and local project (.claude/settings.local.json).
Tip 4: Explicitly allow your frequent commands. Add your build and test commands to the allow list to avoid repetitive confirmations. Each allow rule removes the repetitive confirmation prompt for the corresponding command.
{
 "permissions": {
 "allow": [
 "Bash(npm run build)",
 "Bash(npm test)",
 "Bash(npx eslint *)",
 "Read",
 "Write(src/**)"
 ]
 }
}
Tip 5: Block destructive commands. Configure deny rules to prevent accidental deletions and risky commands. Deny rules take priority over allow rules. Blocking rm -rf, git push --force, and curl via deny rules prevents these destructive commands from running.
{
 "permissions": {
 "deny": [
 "Bash(rm -rf *)",
 "Bash(git push --force*)",
 "Bash(curl *)",
 "Bash(wget *)"
 ]
 }
}
Tip 6: Use wildcards for flexible rules. The character works in permission patterns. Write(src/) allows writing to the entire src/ folder and its subfolders. Bash(npm ) covers all npm commands. For advanced permission strategies, consult the advanced best practices tips.
Tip 7: Separate project settings from personal settings. The .claude/settings.json file at the project root is shared via Git with your team. The .claude/settings.local.json file stays local and is ignored by Git. Place settings specific to your environment (absolute paths, tokens) in the local file.
| File | Scope | Versioned | Usage |
|---|---|---|---|
~/.claude/settings.json | Global (all projects) | No | Personal preferences |
.claude/settings.json | Project (team) | Yes | Team standards |
.claude/settings.local.json | Project (local) | No | Personal overrides |
Key takeaway: deny rules always take priority over allow rules; separate your personal settings from project settings.
How does Claude Code sandboxing work?
Sandboxing is a system-level protection layer that limits Claude Code's access to the network and file system, independently of configured permissions. Claude Code uses Seatbelt on macOS and bubblewrap on Linux. This mechanism prevents any unauthorized outbound network access and restricts writing to working directories only.
Tip 8: Verify that sandboxing is active. Run the /sandbox slash command to view and toggle the sandbox status at runtime. Running cat ~/.claude/settings.json only shows the configured sandbox settings, not the live state. Sandboxing is enabled via the sandbox.enabled setting or the /sandbox command. On Linux and WSL2, both bubblewrap (bwrap) and socat must be installed separately. The sandbox restricts outbound network access at the OS level.
# View the configured sandbox settings
cat ~/.claude/settings.json

# On Linux or WSL2, install the sandbox dependencies if missing
sudo apt-get install bubblewrap socat
Tip 9: Understand sandbox limitations. By default the sandbox pre-allows no network domains. The first time a Bash command needs a new domain, Claude Code prompts for approval; you can pre-allow domains via sandbox.network.allowedDomains. The sandbox allows reads across the machine but limits writes to the current working directory and its subdirectories by default. Additional write paths must be granted explicitly via sandbox.filesystem.allowWrite. For deeper troubleshooting of sandboxing issues, consult the permissions troubleshooting guide.
| Sandbox | OS | Outbound Network | File Writing | Installation |
|---|---|---|---|---|
| Seatbelt | macOS | No domains pre-allowed (new domains prompt for approval) | Working directory + subdirectories | Native |
| bubblewrap | Linux, WSL2 (native Windows unsupported) | No domains pre-allowed (new domains prompt for approval) | Working directory + subdirectories | apt-get install bubblewrap socat |
| Docker | All | Configurable | Configurable | Dedicated image |
Tip 10: In CI/CD, double up sandboxing with Docker. Run Claude Code inside a Docker container even in Bypass mode. The container adds network and file system isolation on top of the native sandbox. Docker adds an additional isolation layer on top of the native sandbox. Find more details in the headless mode and CI/CD tips.
Key takeaway: sandboxing works independently of permissions and blocks unauthorized network access even if a command is in the allow list.
How to protect against prompt injections?
Prompt injection is an attack where malicious content in a file or tool response attempts to manipulate Claude Code into executing unwanted actions. Claude Code integrates several native defense mechanisms, but your configuration strengthens the protection.
Tip 11: Never switch to Bypass mode on unaudited code. When you clone an unknown repository, stay in Normal mode. A malicious CLAUDE.md file could contain hidden instructions. In Normal mode, Claude Code asks for confirmation before every sensitive action, giving you time to detect an injection attempt.
Tip 12: Audit CLAUDE.md files from external repositories. Systematically read the contents of CLAUDE.md and .claude/settings.json before launching Claude Code on a third-party project. These files can contain permissive permission rules or instructions that steer the agent's behavior. Here is how to proceed:
# Audit configuration files before using Claude Code
cat CLAUDE.md
cat .claude/settings.json
cat .claude/settings.local.json 2>/dev/null
Tip 13: Use deny rules to block common attack vectors. The commands curl, wget, nc (netcat), and ssh are the most frequent exfiltration vectors. Add these commands to your global deny rules. Network-based exfiltration is a common goal of prompt-injection attempts.
{
 "permissions": {
 "deny": [
 "Bash(curl *)",
 "Bash(wget *)",
 "Bash(nc *)",
 "Bash(ssh *)",
 "Bash(python -c *)",
 "Bash(node -e *)"
 ]
 }
}
For deeper guidance on securely managing third-party MCP servers, consult the MCP tips. MCP servers represent an additional injection vector when they come from unverified sources.
Tip 14: Watch for unusual command results. Claude Code displays a warning when a tool result appears to contain an injection attempt. Carefully read these warnings and reject the action if the content seems suspicious. the system includes native injection attempt detection.
Key takeaway: stay in Normal mode on unaudited code and block network commands via deny rules to neutralize injection vectors.
What advanced settings should you configure in settings.json?
Beyond permissions, the settings.json file controls the overall behavior of Claude Code. Here are the advanced security settings to know for hardening your configuration.
Tip 15: Keep telemetry disabled if your policy requires it. Telemetry is disabled by default in Claude Code. It is only enabled when you set the environment variable CLAUDE_CODE_ENABLE_TELEMETRY=1. To keep it off, simply do not set that variable, or set DISABLE_TELEMETRY=1 explicitly. In regulated environments (finance, healthcare), enforcing this is often mandatory. Consult the permissions FAQ for frequently asked questions about privacy.
# Telemetry is off by default; set this to enforce it explicitly
export DISABLE_TELEMETRY=1
Tip 16: Limit authorized models. You can restrict the usable models via enterprise configuration. Specifically, locking the model to Claude Sonnet 4.6 or Claude Opus 4.8 prevents the use of less secure or unapproved models by your team.
Tip 17: Set a timeout for long commands. Claude Code applies a 120-second default timeout on bash commands. For heavy builds, you can increase this value. Keep a reasonable timeout (maximum 600 seconds) to prevent a stuck command from consuming resources indefinitely. To organize your sessions efficiently, consult the first conversations tips.
| Parameter | Default Value | Security Recommendation | Impact |
|---|---|---|---|
permissions.defaultMode | default | default or plan | Controls the startup mode |
| Bash timeout | 120 s | 120-300 s | Limits command duration |
| Sandbox | Enabled | Always enabled | Network and file isolation |
To master context management and prevent information leaks between sessions, consult the context management tips.
Key takeaway: disable telemetry in regulated environments and keep the bash timeout under 300 seconds to limit risks.
How to audit and validate your security configuration?
A secure configuration is only useful if it is verified regularly. Establish an audit routine to detect configuration drift and obsolete rules.
Tip 18: Create an automated audit script. Run this script before each work session on a sensitive project. It checks for the presence of key deny rules and settings files.
#!/bin/bash
# Quick Claude Code security audit
echo "=== Claude Code Security Audit ==="

# Check global settings.json
if [ -f ~/.claude/settings.json ]; then
 echo "[OK] Global settings found"
 grep -q "deny" ~/.claude/settings.json && echo "[OK] Deny rules present" || echo "[WARN] No deny rules"
else
 echo "[WARN] No global settings"
fi

# Check project settings
if [ -f .claude/settings.json ]; then
 echo "[OK] Project settings found"
else
 echo "[INFO] No project settings"
fi

echo "=== Audit complete ==="
For a complete validation checklist, consult the permissions and security checklist. It covers the 12 essential control points for a hardened configuration. You can also create custom commands to automate this audit.
Key takeaway: automate your configuration audit and run it before each session on a sensitive project.
Why train your team on Claude Code security?
Technical configuration alone is not enough without upskilling your team. Human errors (Bypass mode on unaudited code, disabling the sandbox) remain the number one risk vector. SFEIR Institute offers dedicated training to anchor best practices.
The one-day Claude Code training lets you master the permission modes, configure sandboxing, and write allow/deny rules adapted to your context. You practice on concrete labs with prompt injection scenarios.
To go further, the 2-day AI-Augmented Developer training covers the secure integration of AI agents into your development workflow, including CI/CD configuration and enterprise policies. The one-day AI-Augmented Developer - Advanced training dives deeper into injection defense strategies and secure multi-agent orchestration.
Key takeaway: investing one day of training significantly reduces security configuration errors, according to feedback from teams trained by SFEIR Institute.
Recent articles about Claude
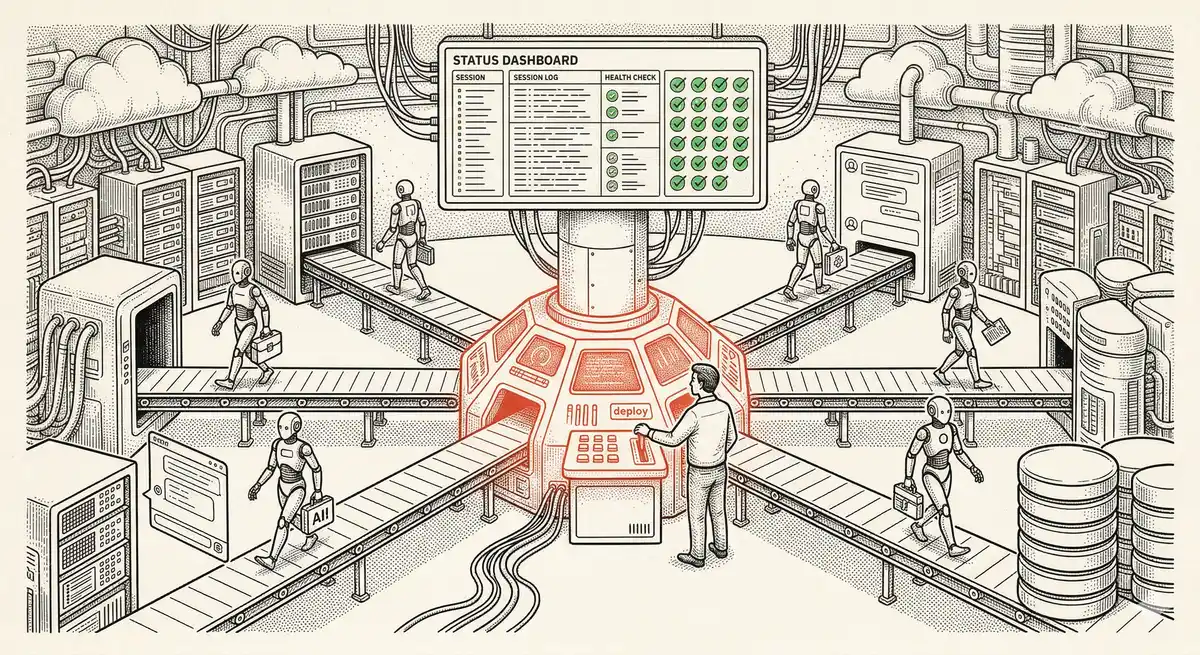
Claude Managed Agents: Anthropic's Platform for Production Agent Deployment
Anthropic launches Managed Agents: a cloud platform for deploying AI agents in production. Secure sandbox, checkpointing, multi-agent, autonomous sessions lasting hours. Notion, Rakuten, Asana and Sentry already use it.

Claude Code Dream & Auto Dream: Automatic Memory Consolidation
After 20 sessions, Auto Memory notes become a mess. Auto Dream solves this by automatically consolidating Claude Code's memory: deduplication, stale entry removal, relative-to-absolute date conversion.
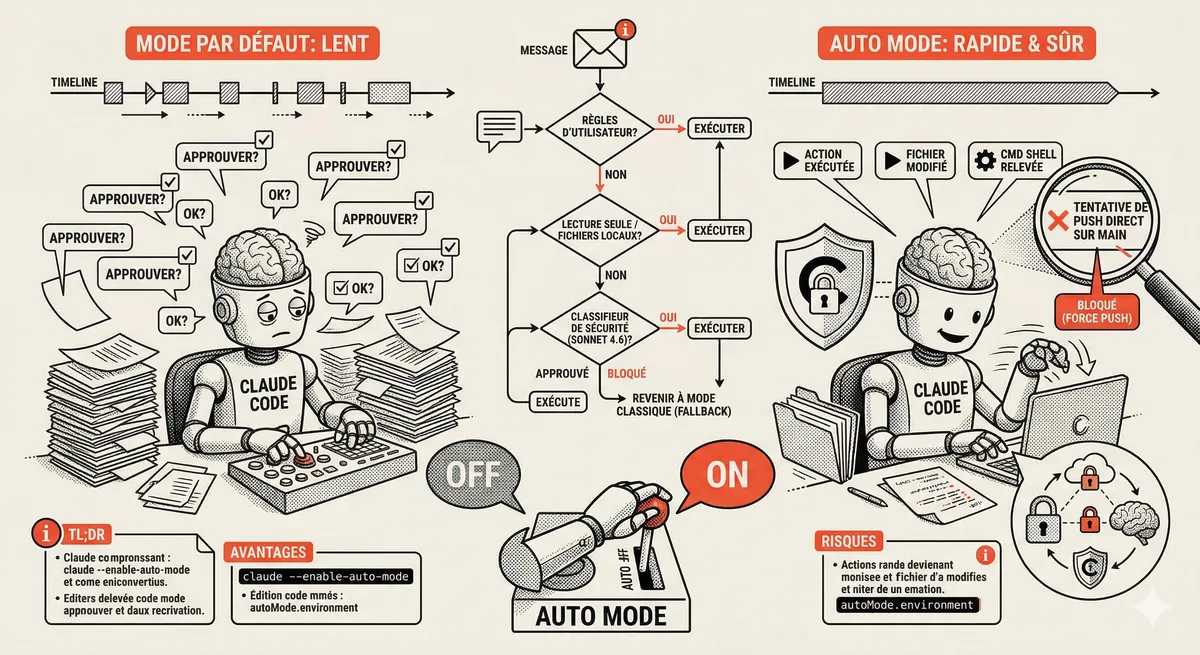
Claude Code Auto Mode: Autonomy Without the Risk
Auto Mode in Claude Code eliminates permission interruptions while keeping a safety net. A classifier analyzes every action before execution and blocks destructive operations. The sweet spot between approving everything and letting everything through.
This topic is covered in Module 4 of our Claude Code training
Documentation, Organization and Prompt Management
1-day training • 60% hands-on labs • Expert instructors
View full program